Ferrari sticky buttons
It’s puzzled enthusiasts, collectors, and retailer alike…how does something soft to the touch, turn into a gooey, shiny, and messy problem?
It seems there’s not one definitive answer. However, there are a few common denominators:
Using incorrect products to clean and condition the soft-touch surfaces
Exposure to sun
Exposure to heat
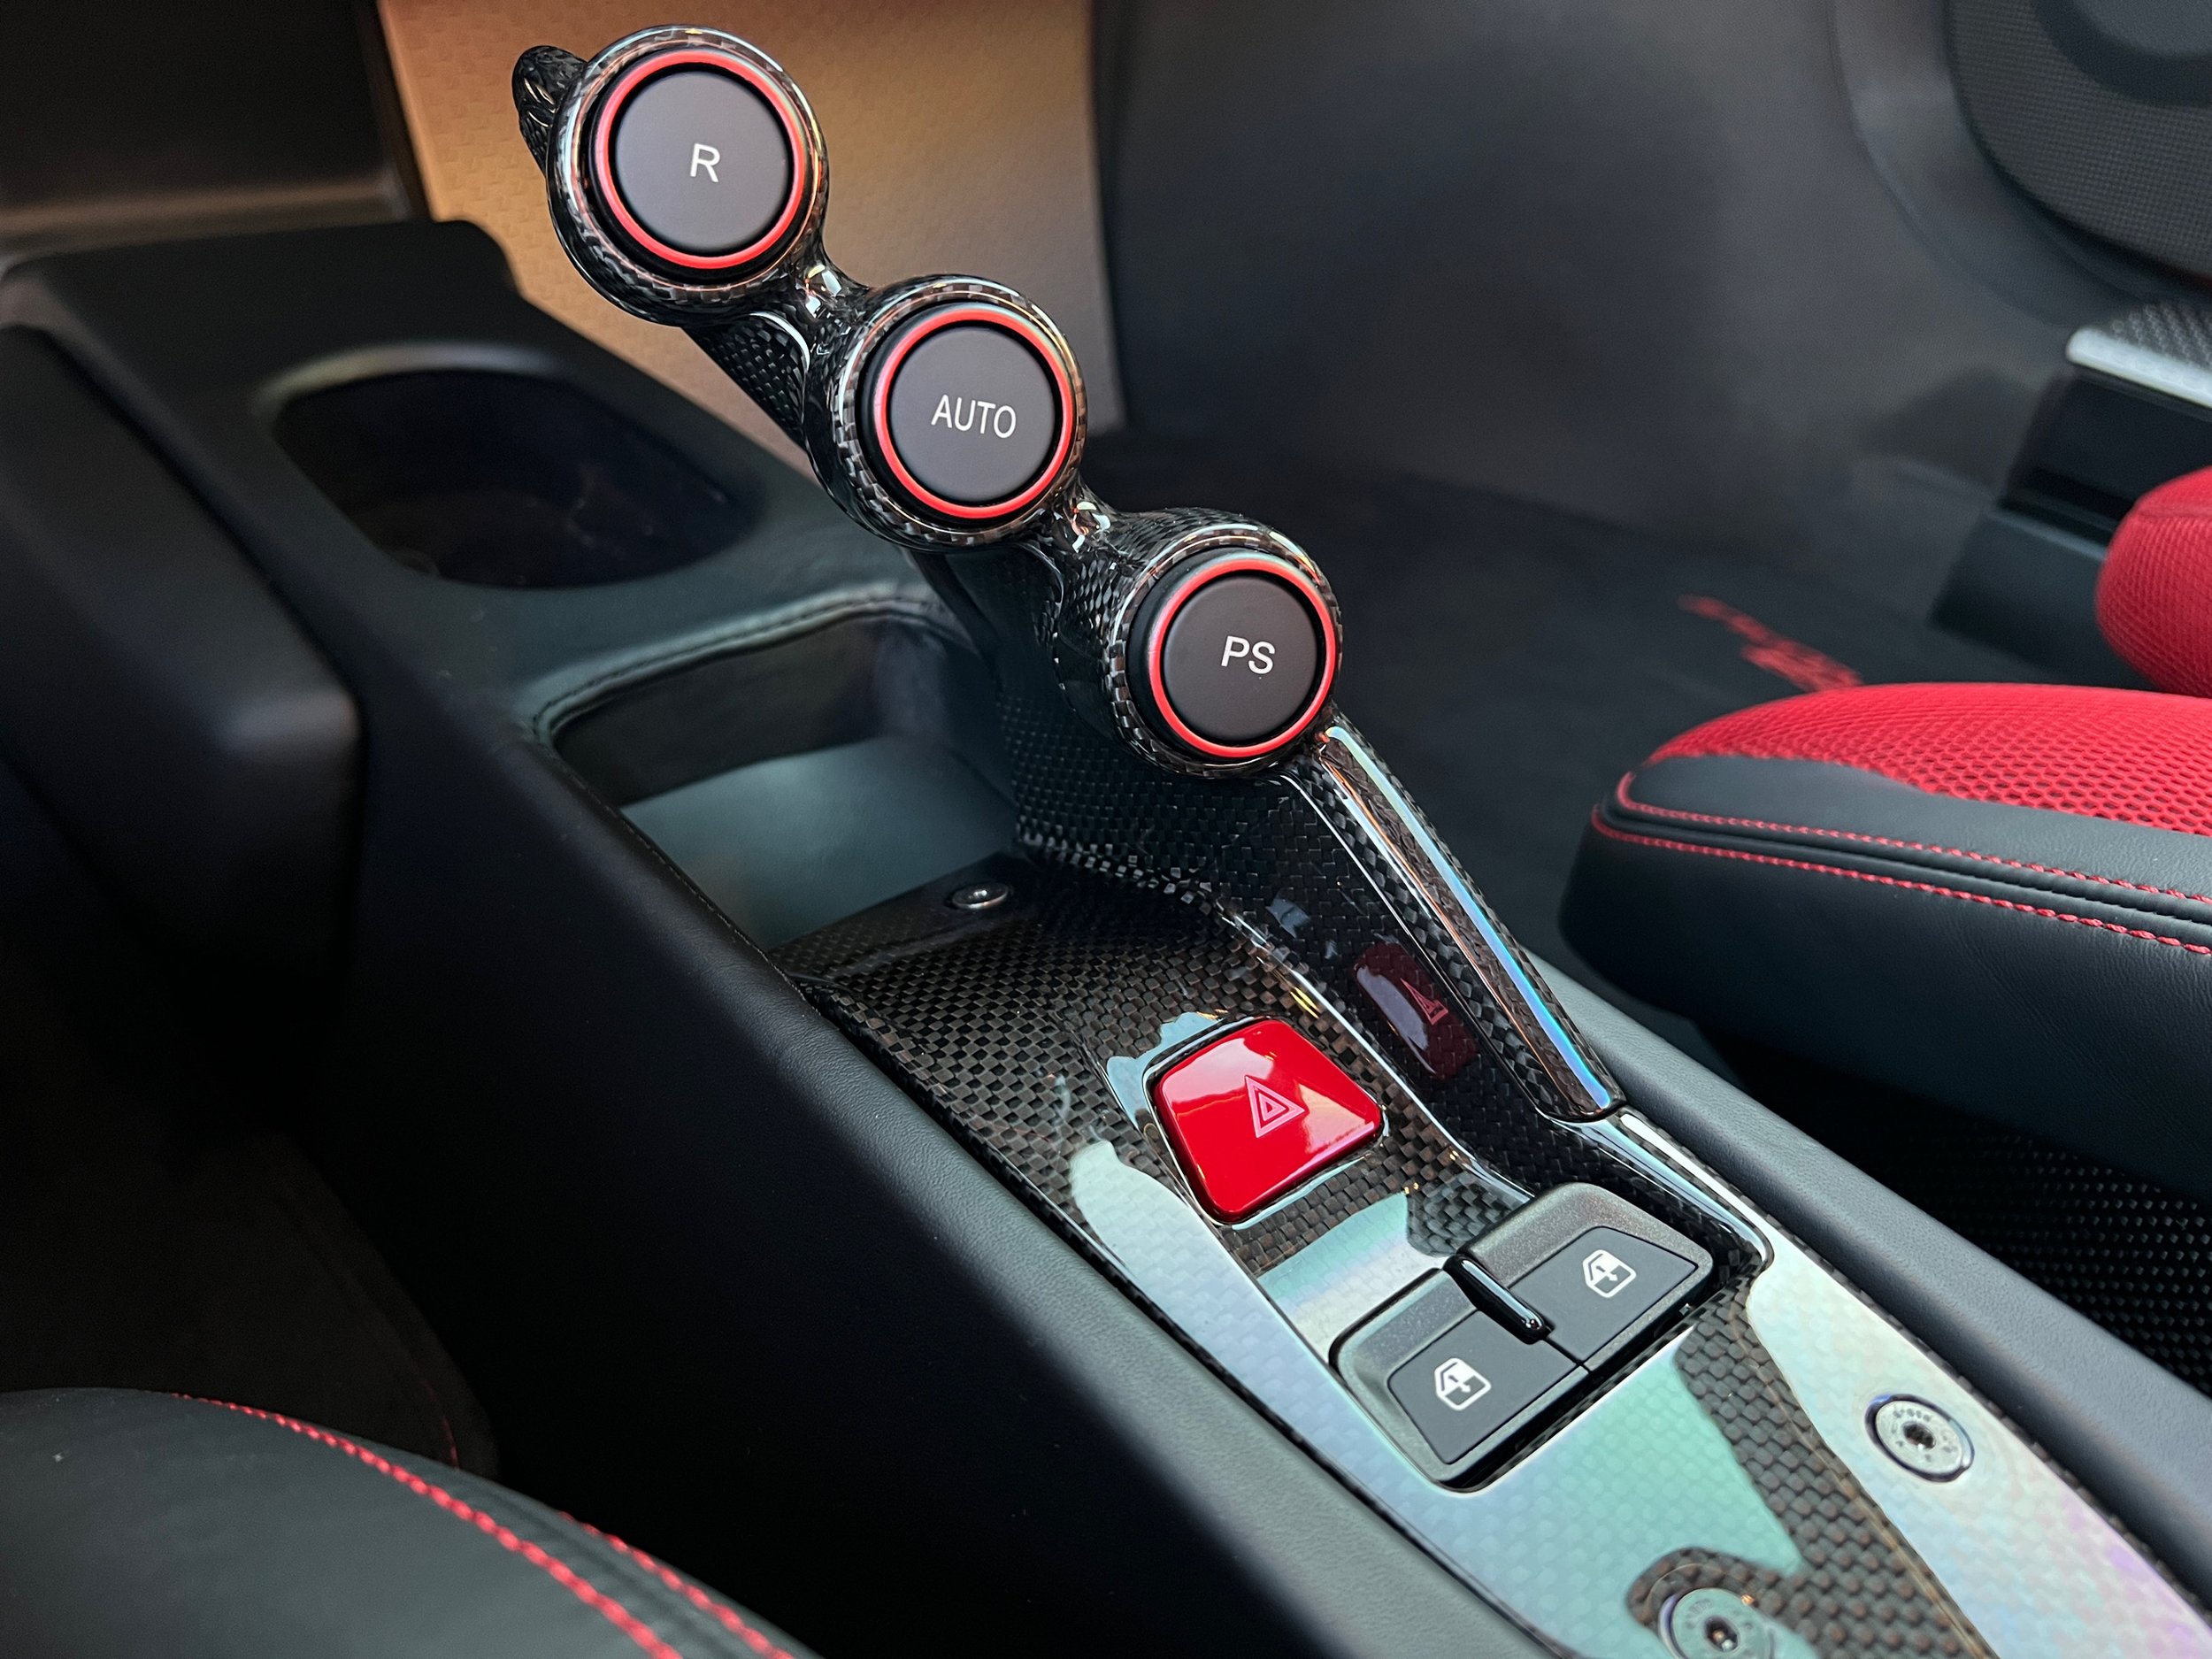
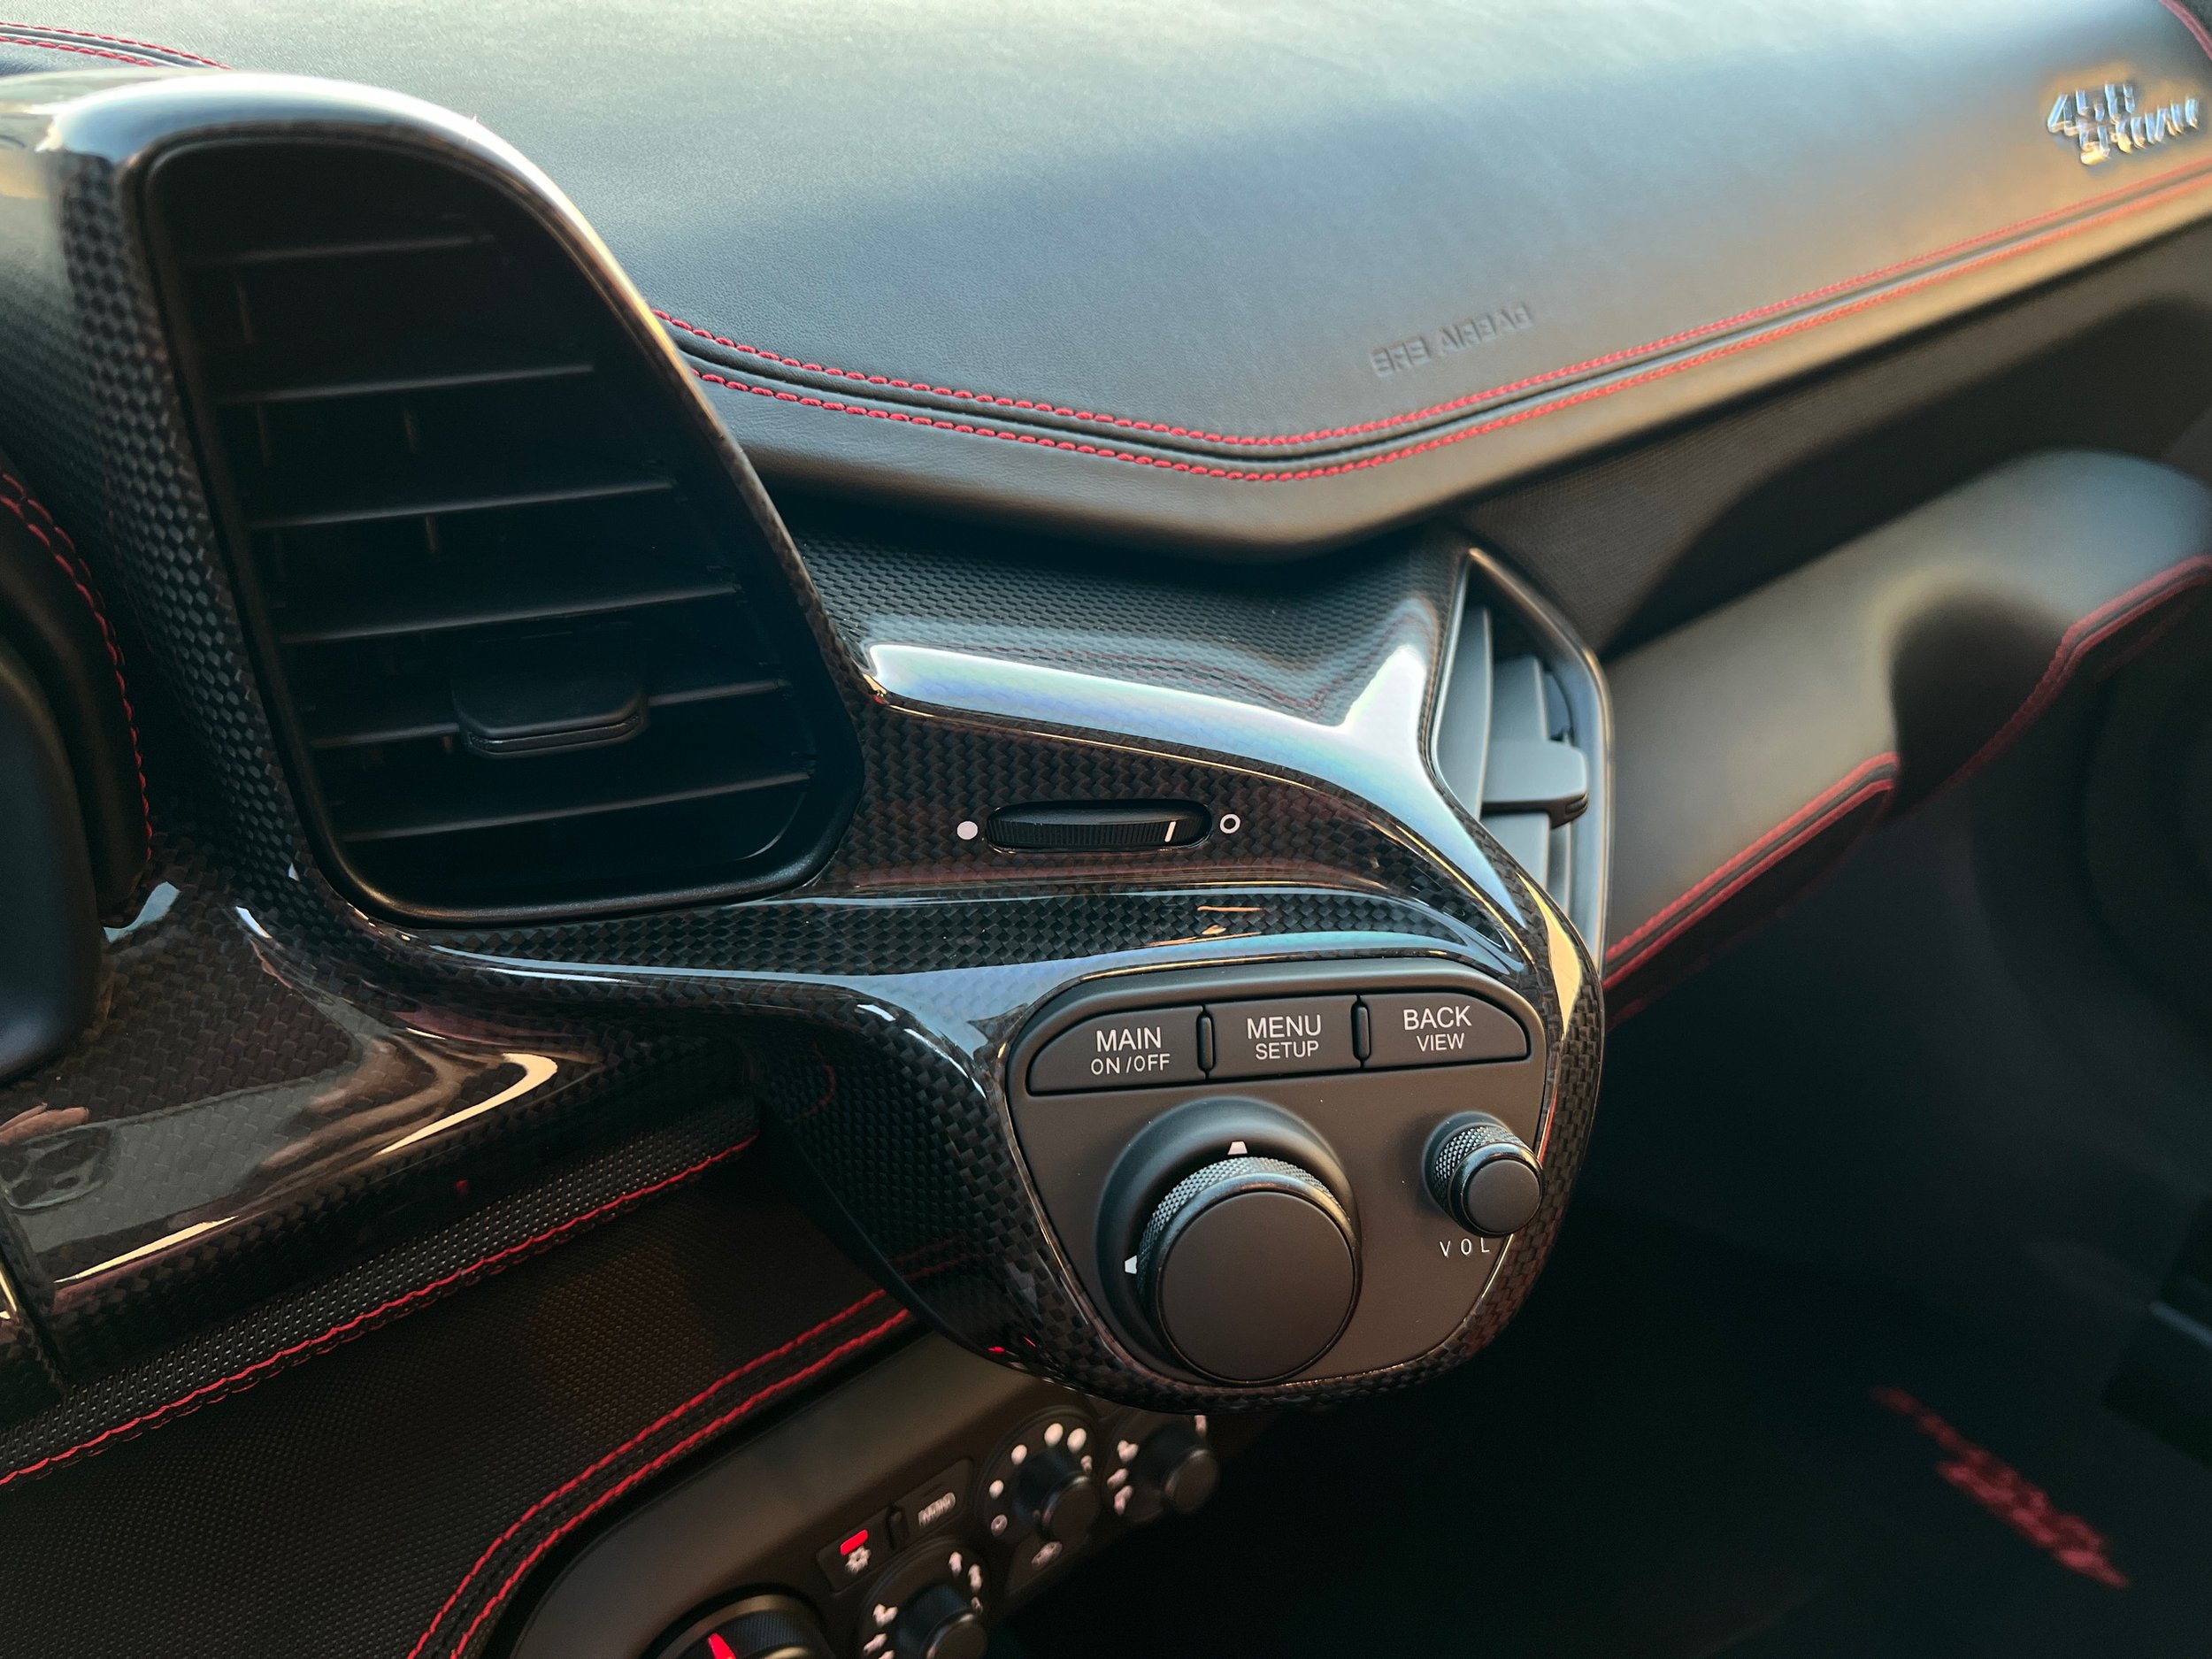
Buttons touches the most will wear down with body oils
External temperature and humidity fluctuations
Replacing with new parts from Ferrari will simply leads to another round of replacing in a few years
A viable and more permanent solution is to refinish the buttons and pieces completely. This process is extremely labor intensive and only a few companies in the world have the technology to execute to a high degree
The process here at GP is truly a labor of love and years of experience dedicated to Ferrari specialization
Here’s the journey outlined:
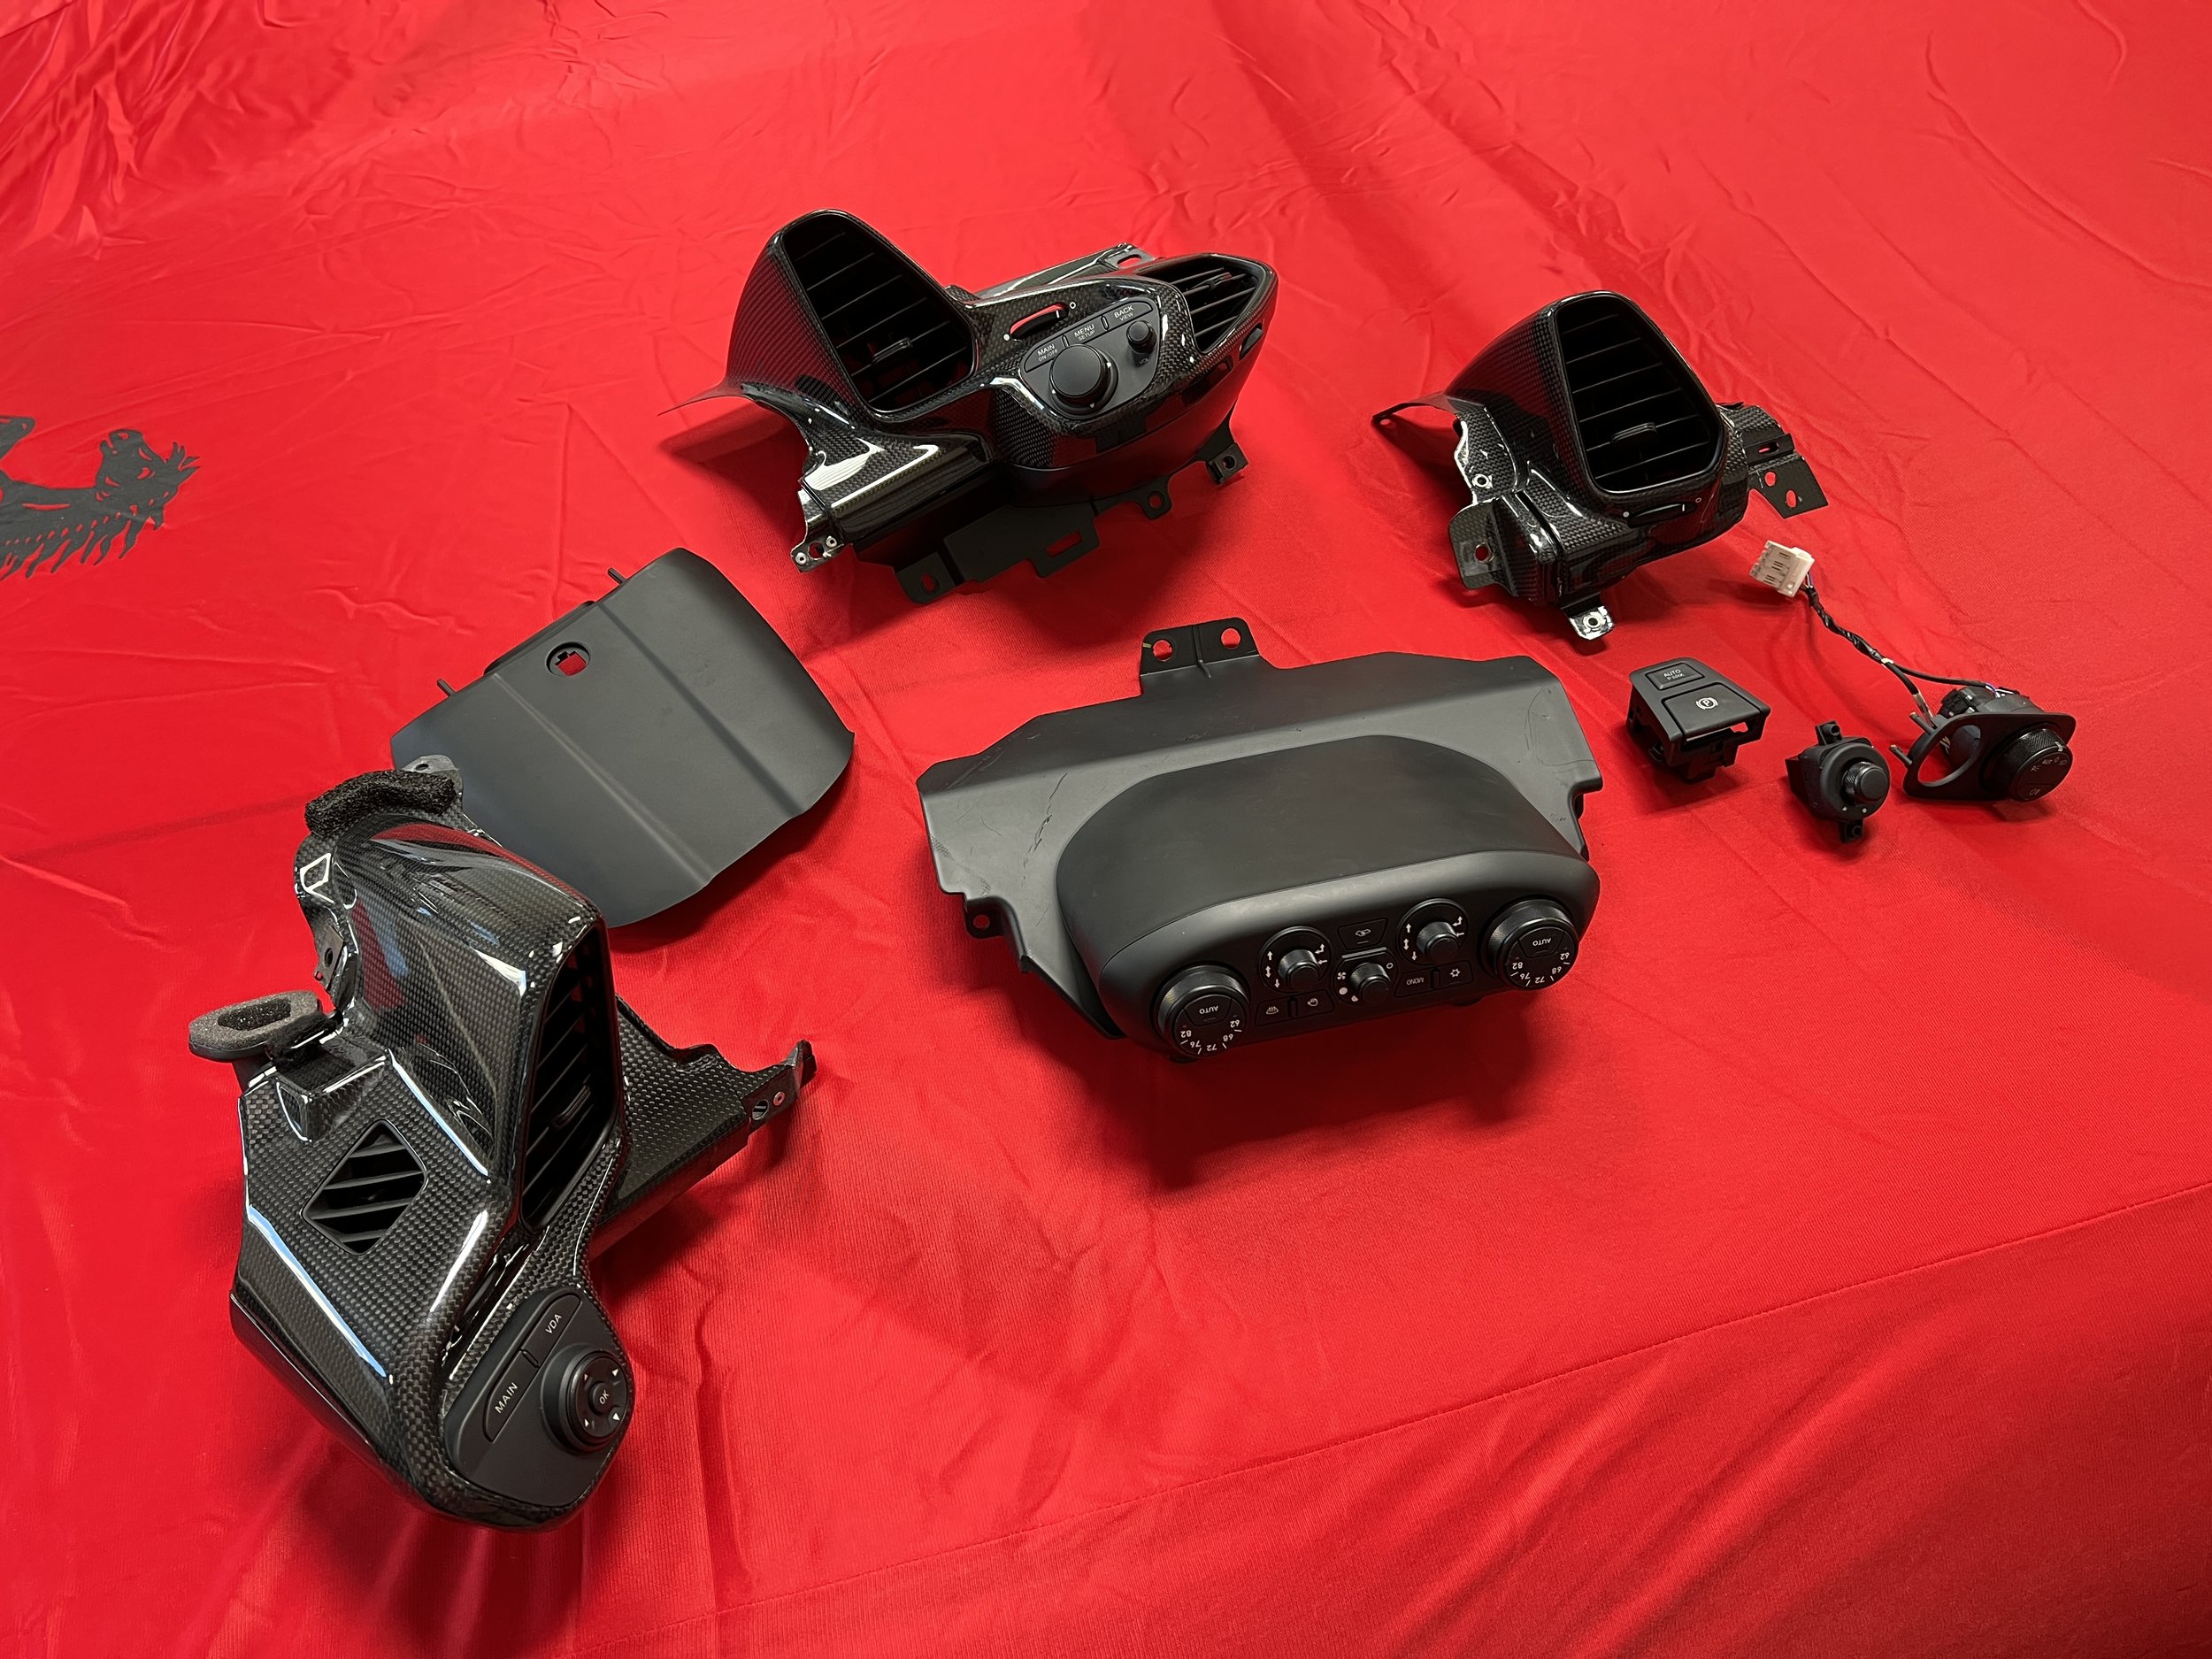
Inventory of what parts needing refinishing are detailed to client and scope is defined
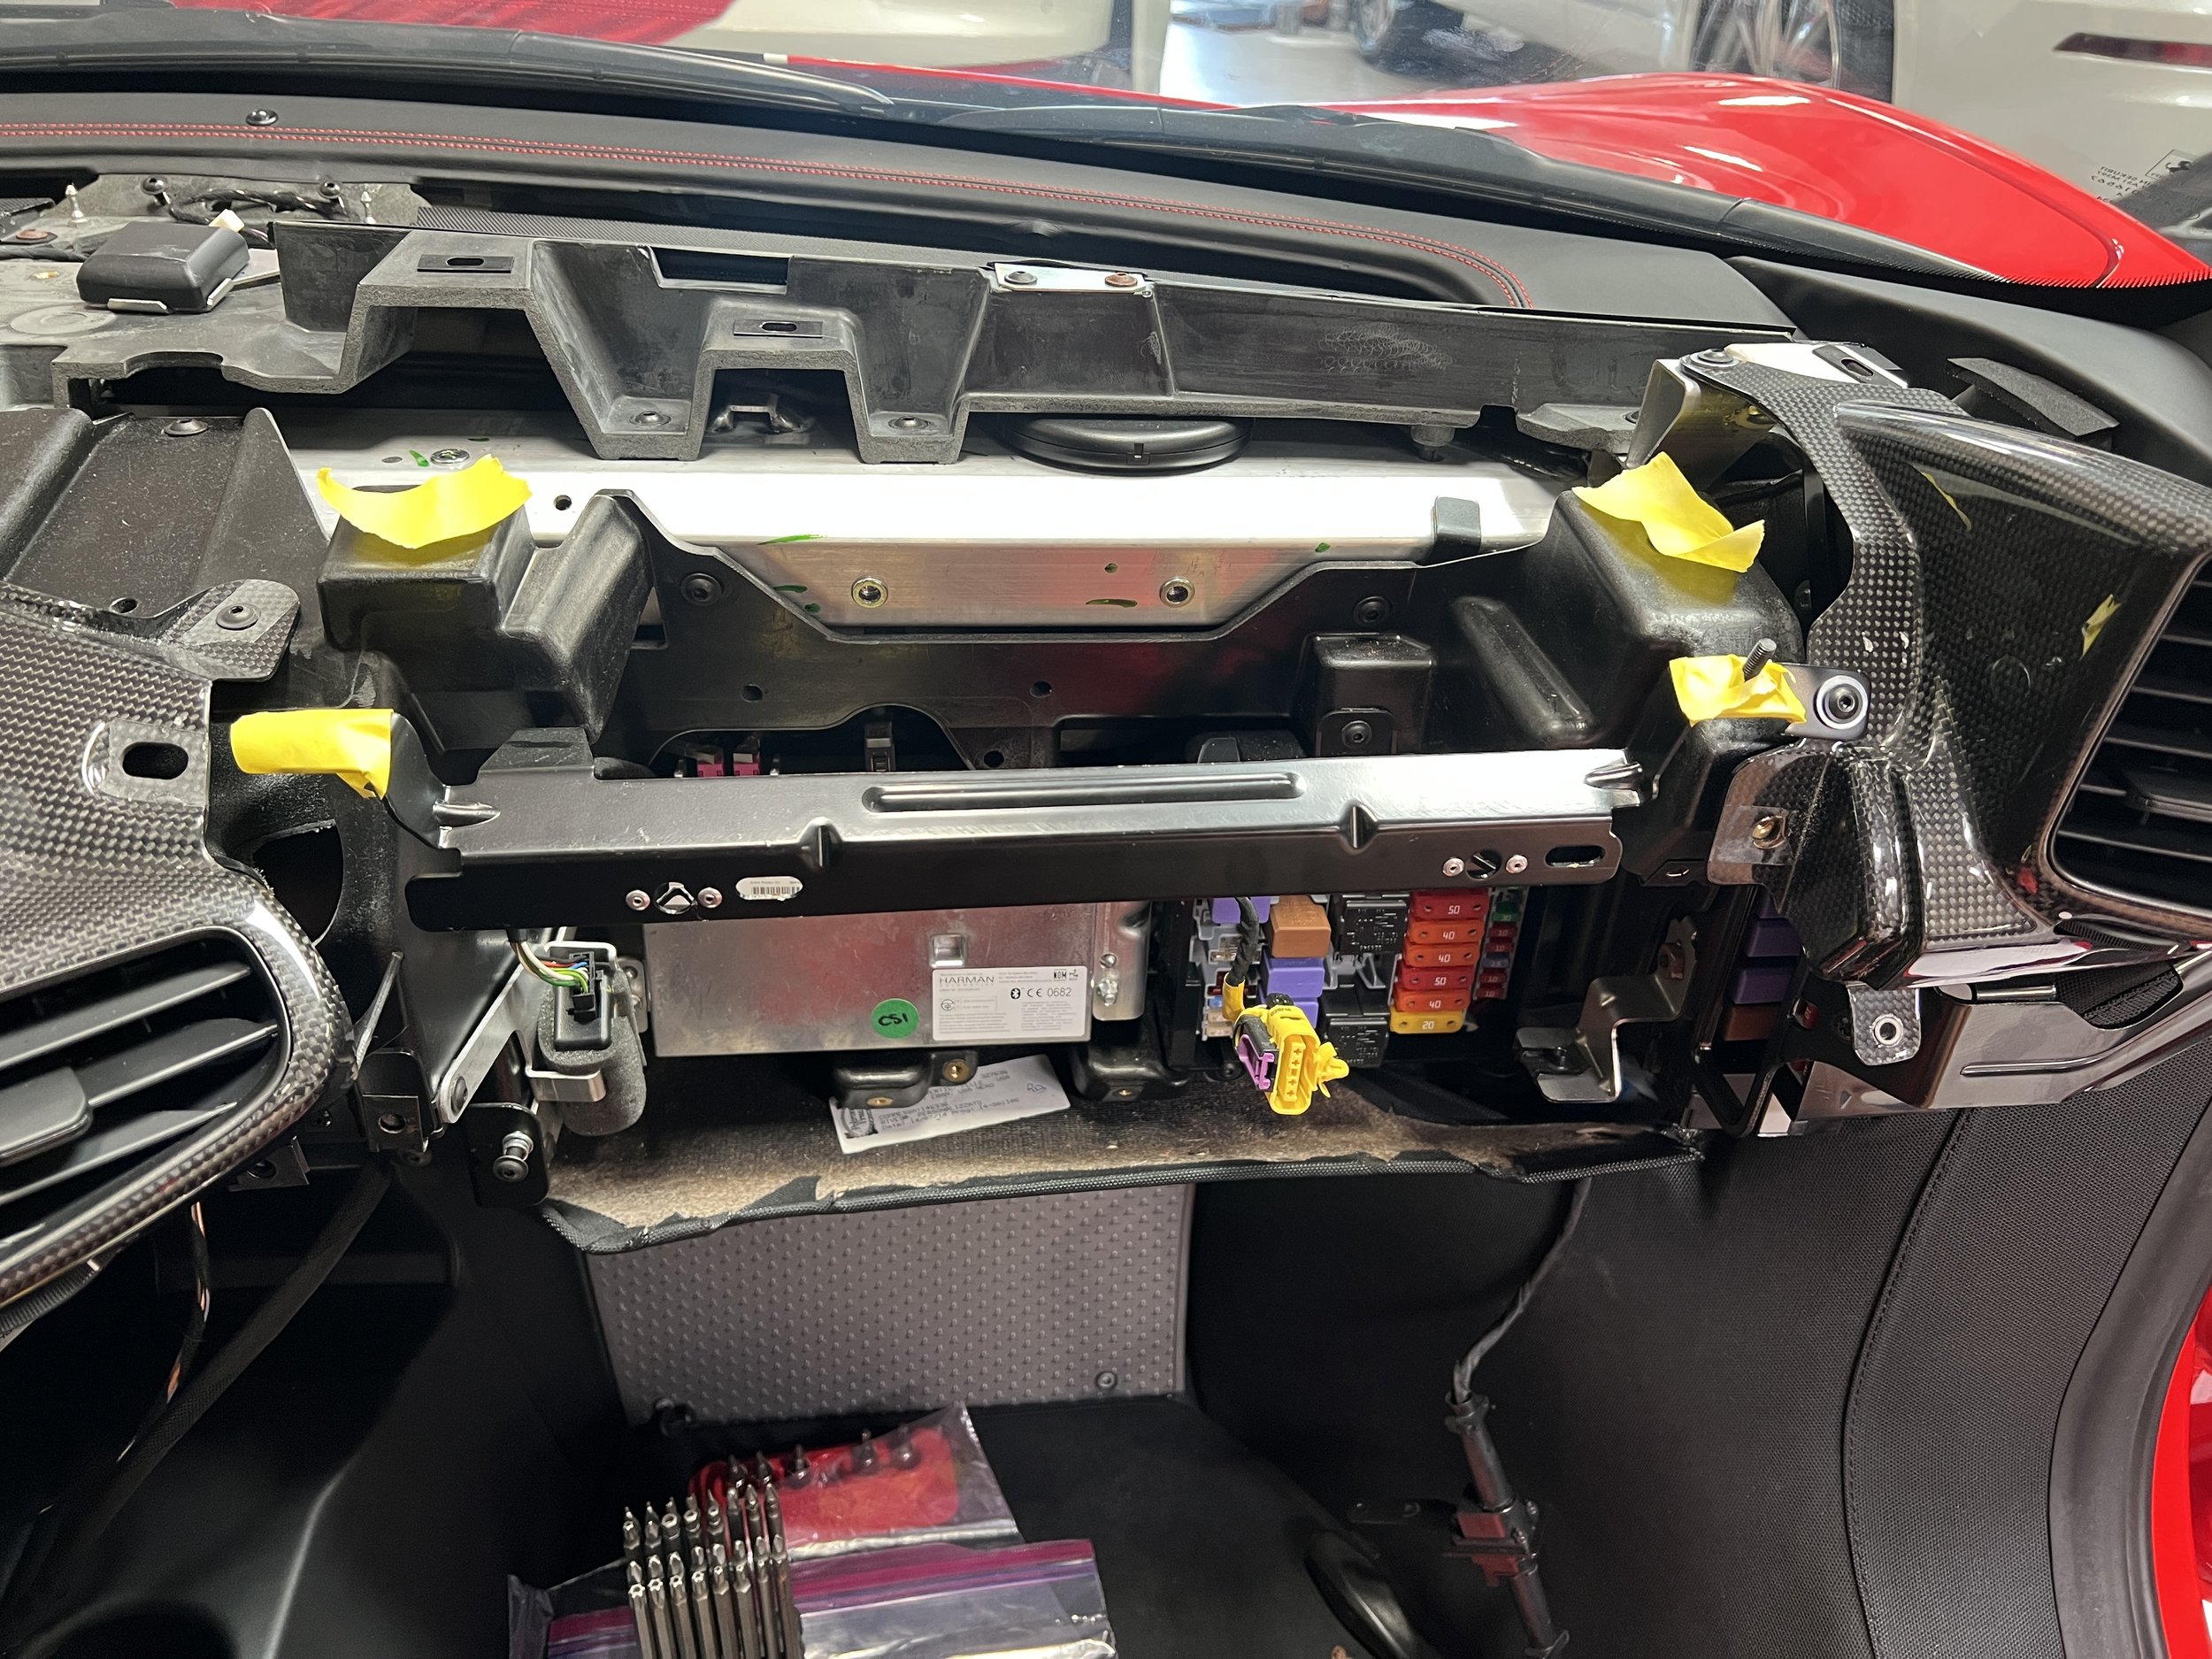
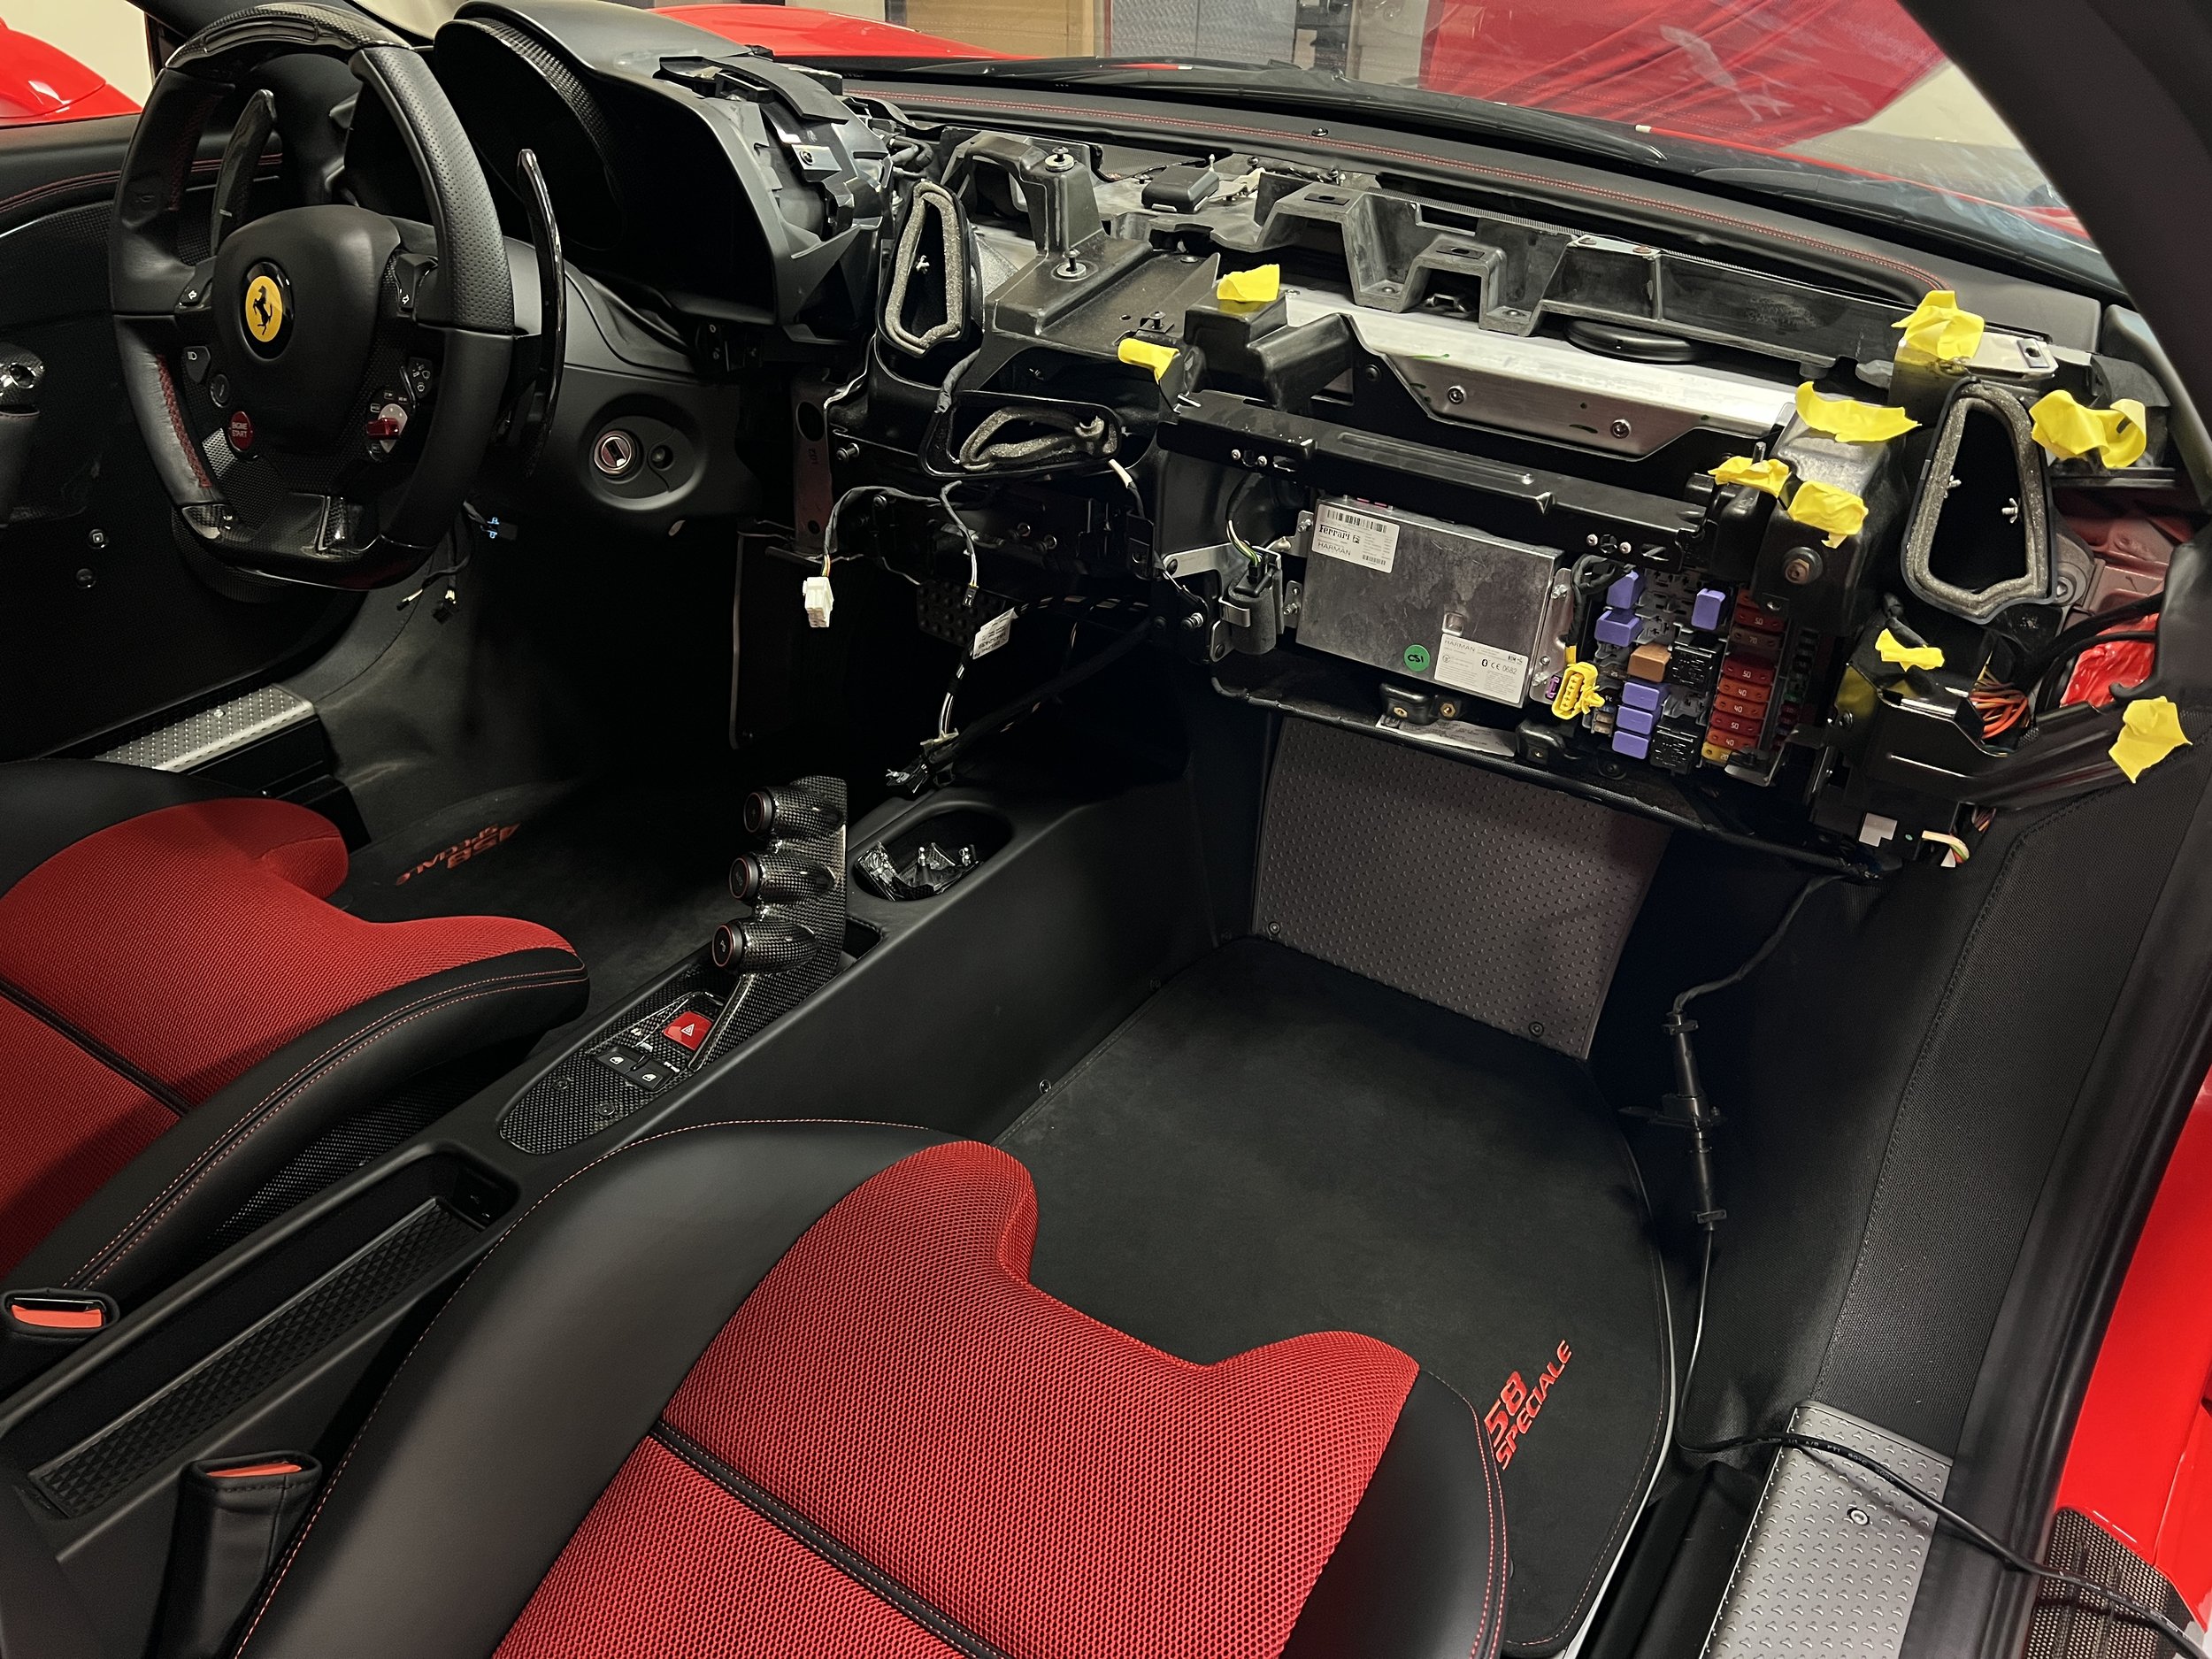
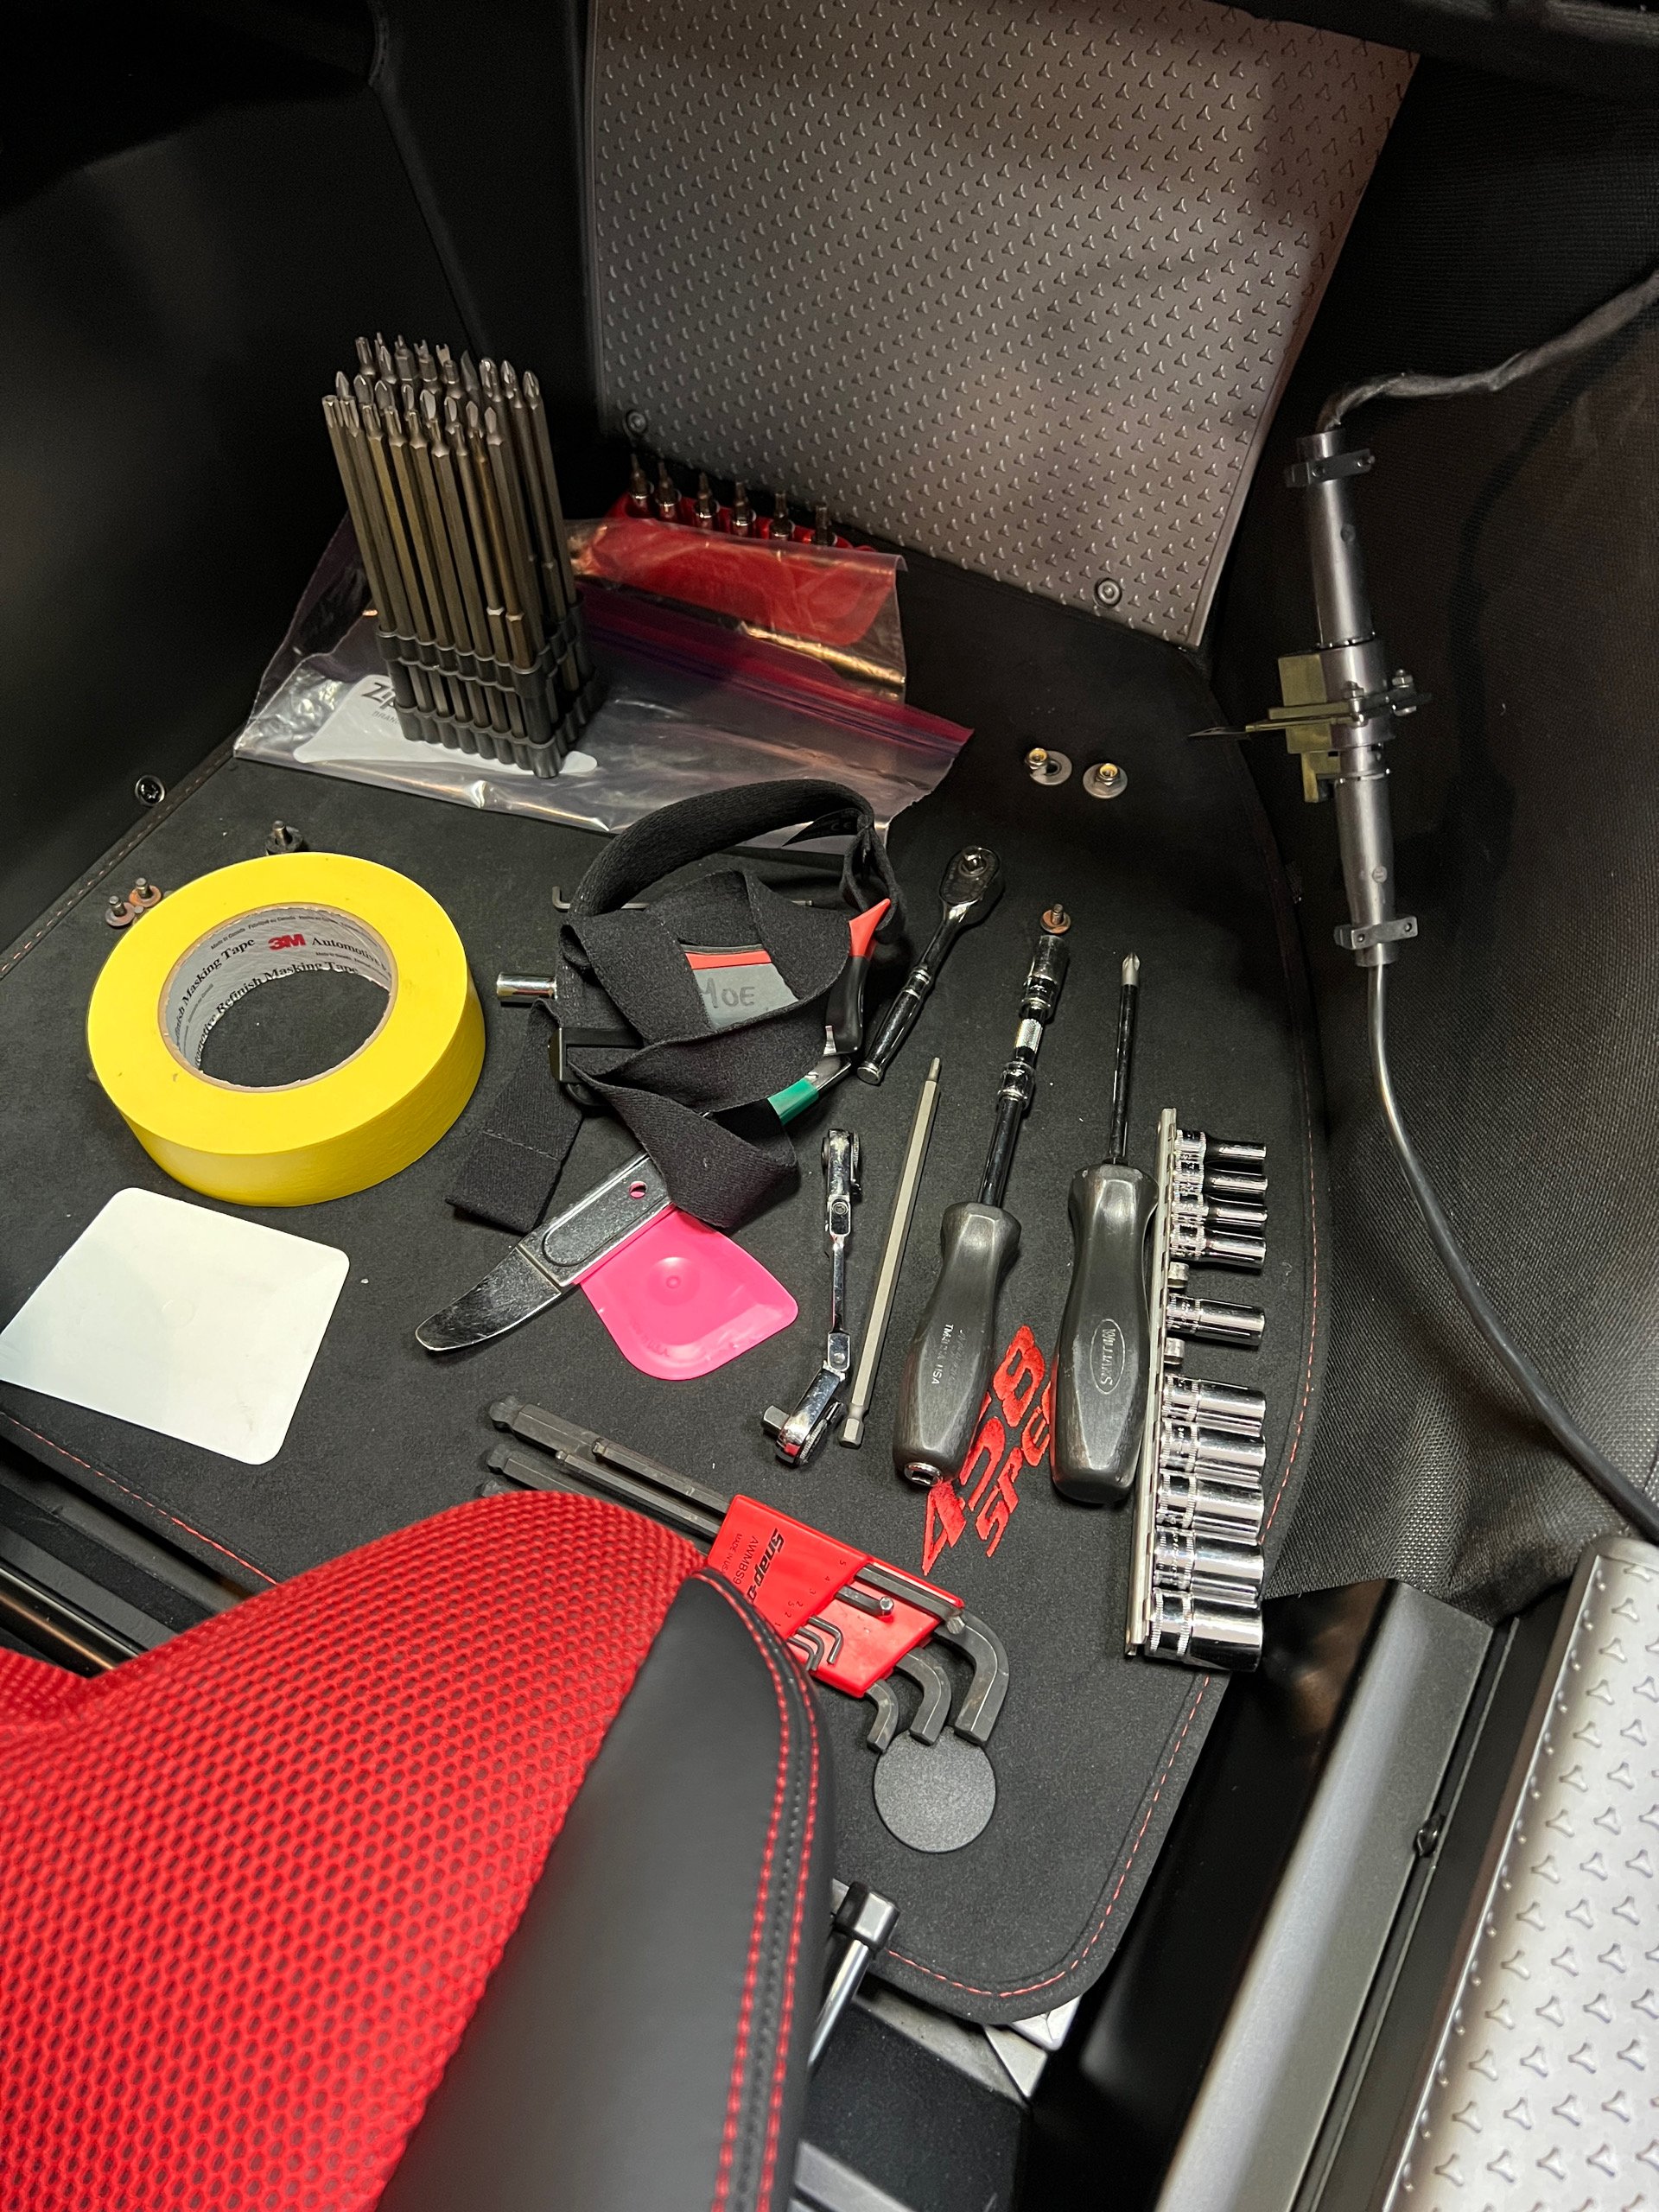
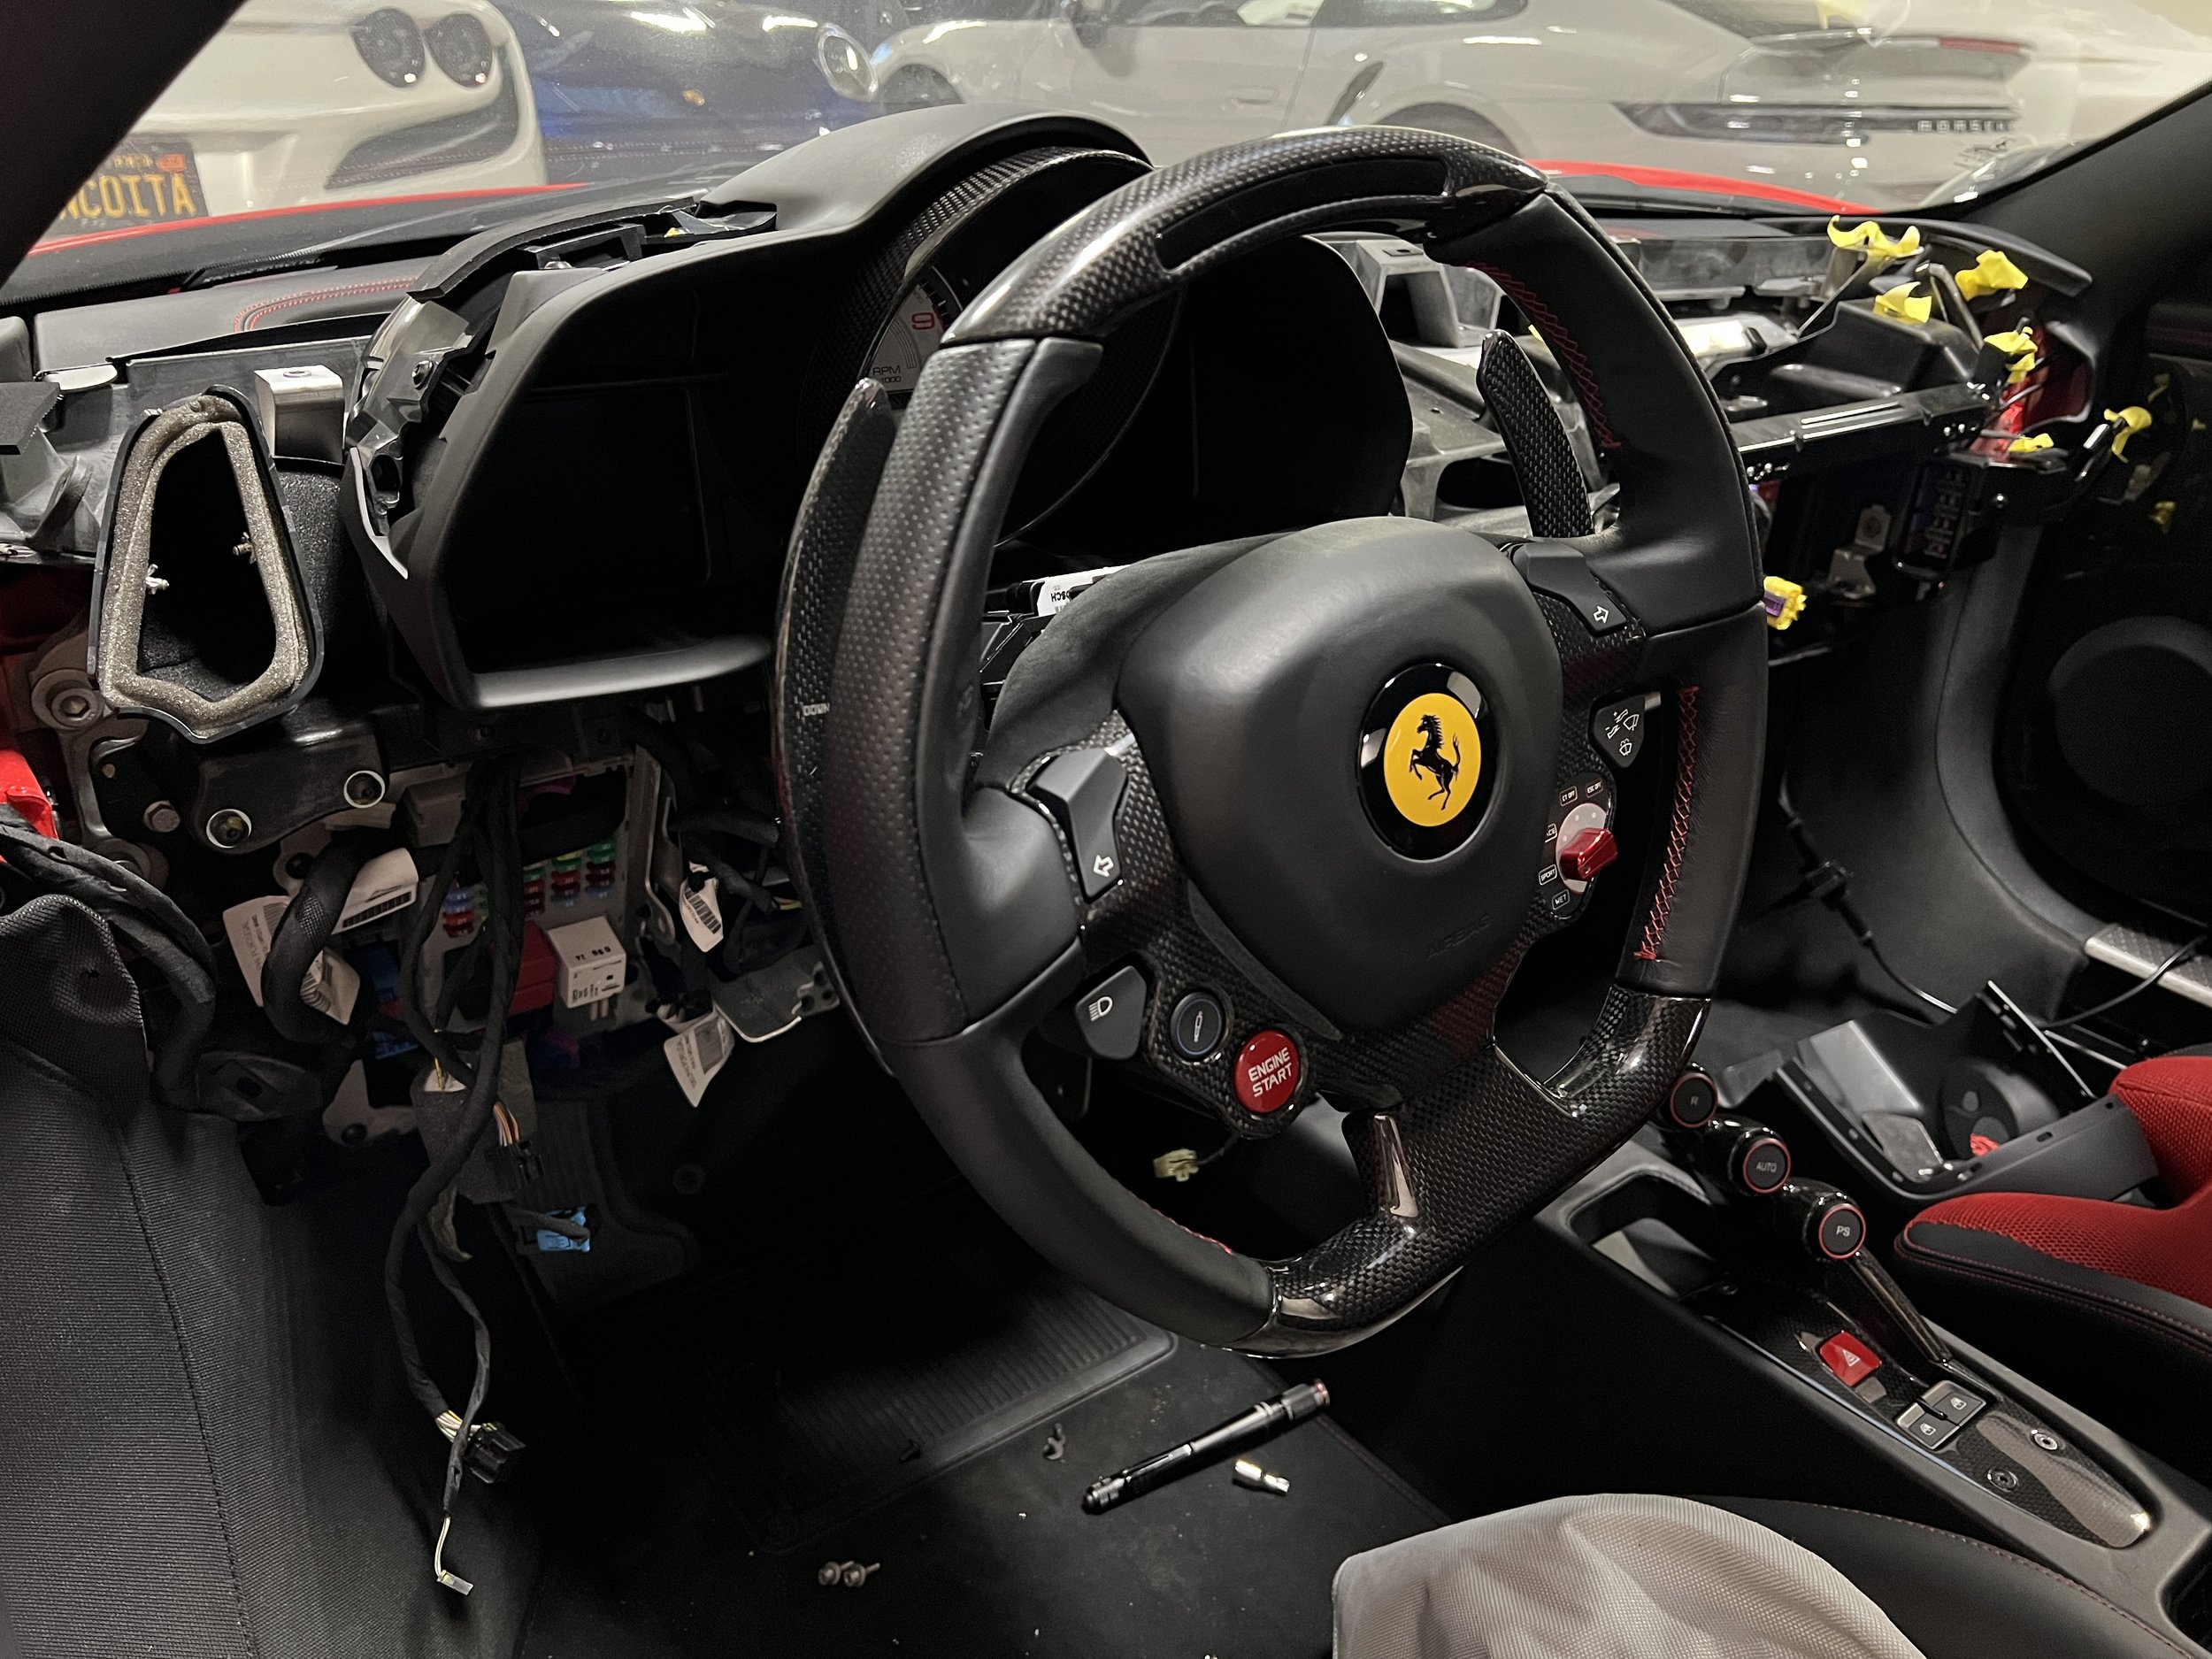
Disassembly begins. Unique FYI about Ferrari…almost every part is screwed in, not much is a pull/push type.
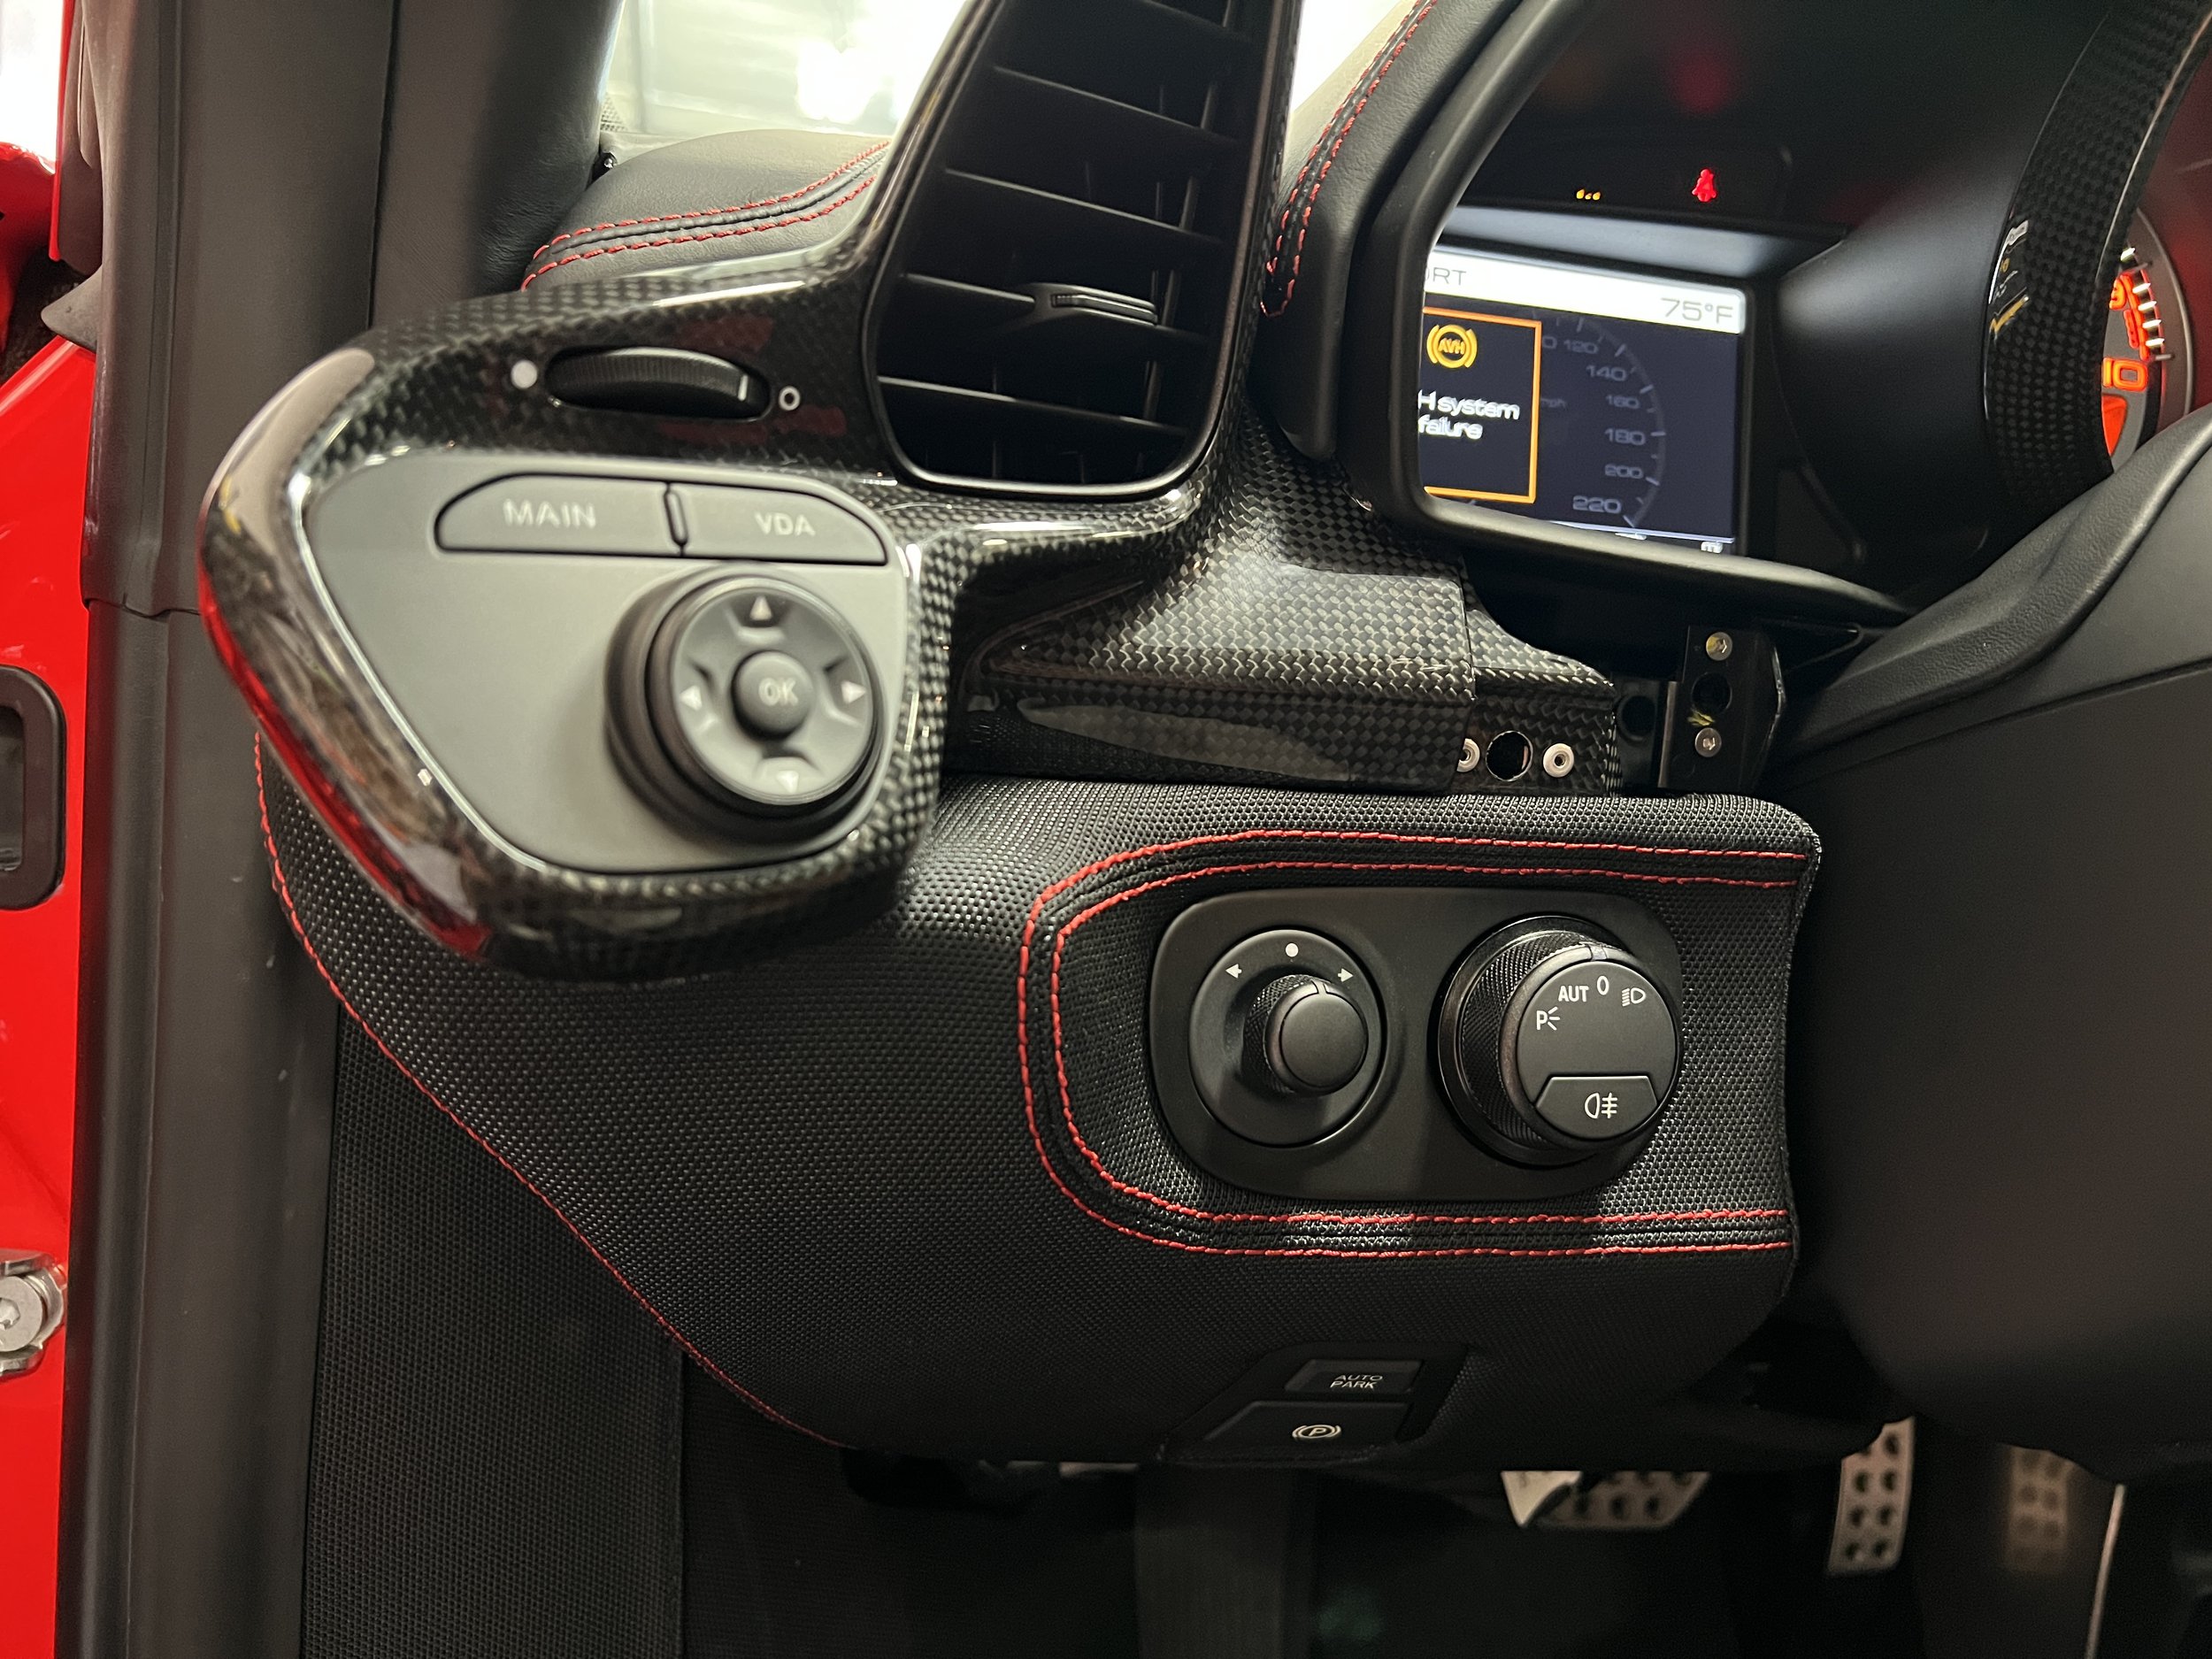
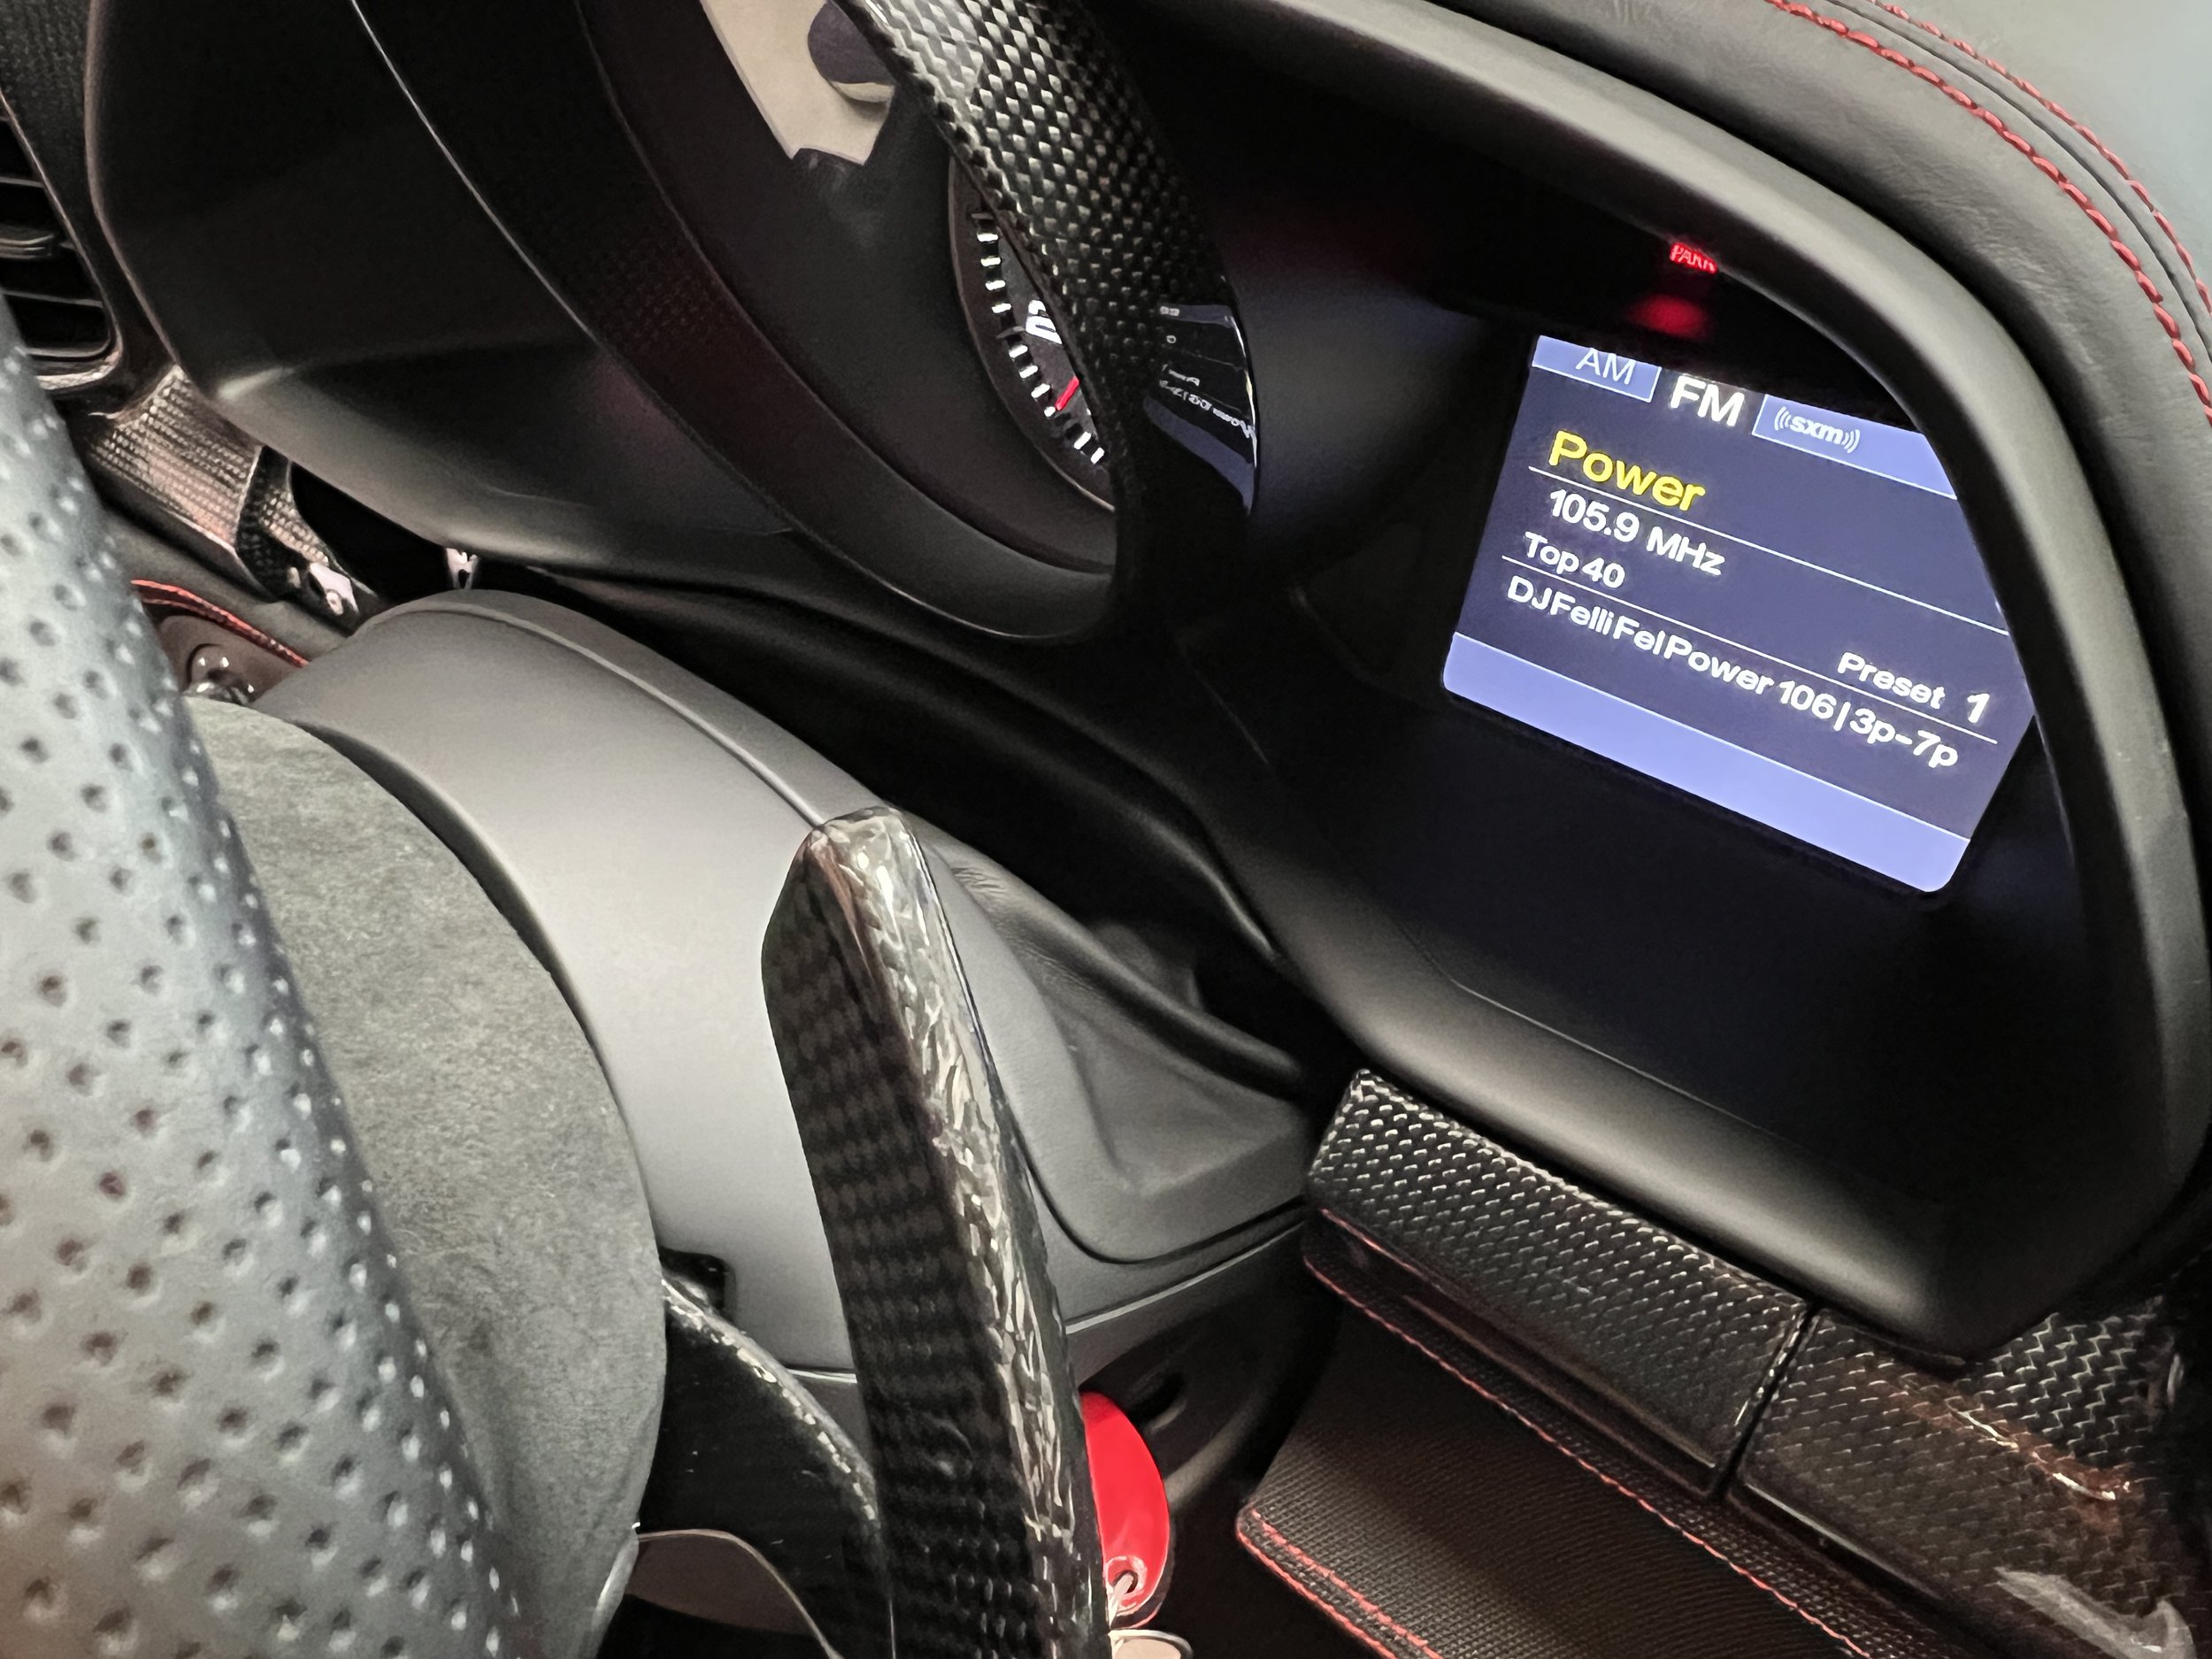
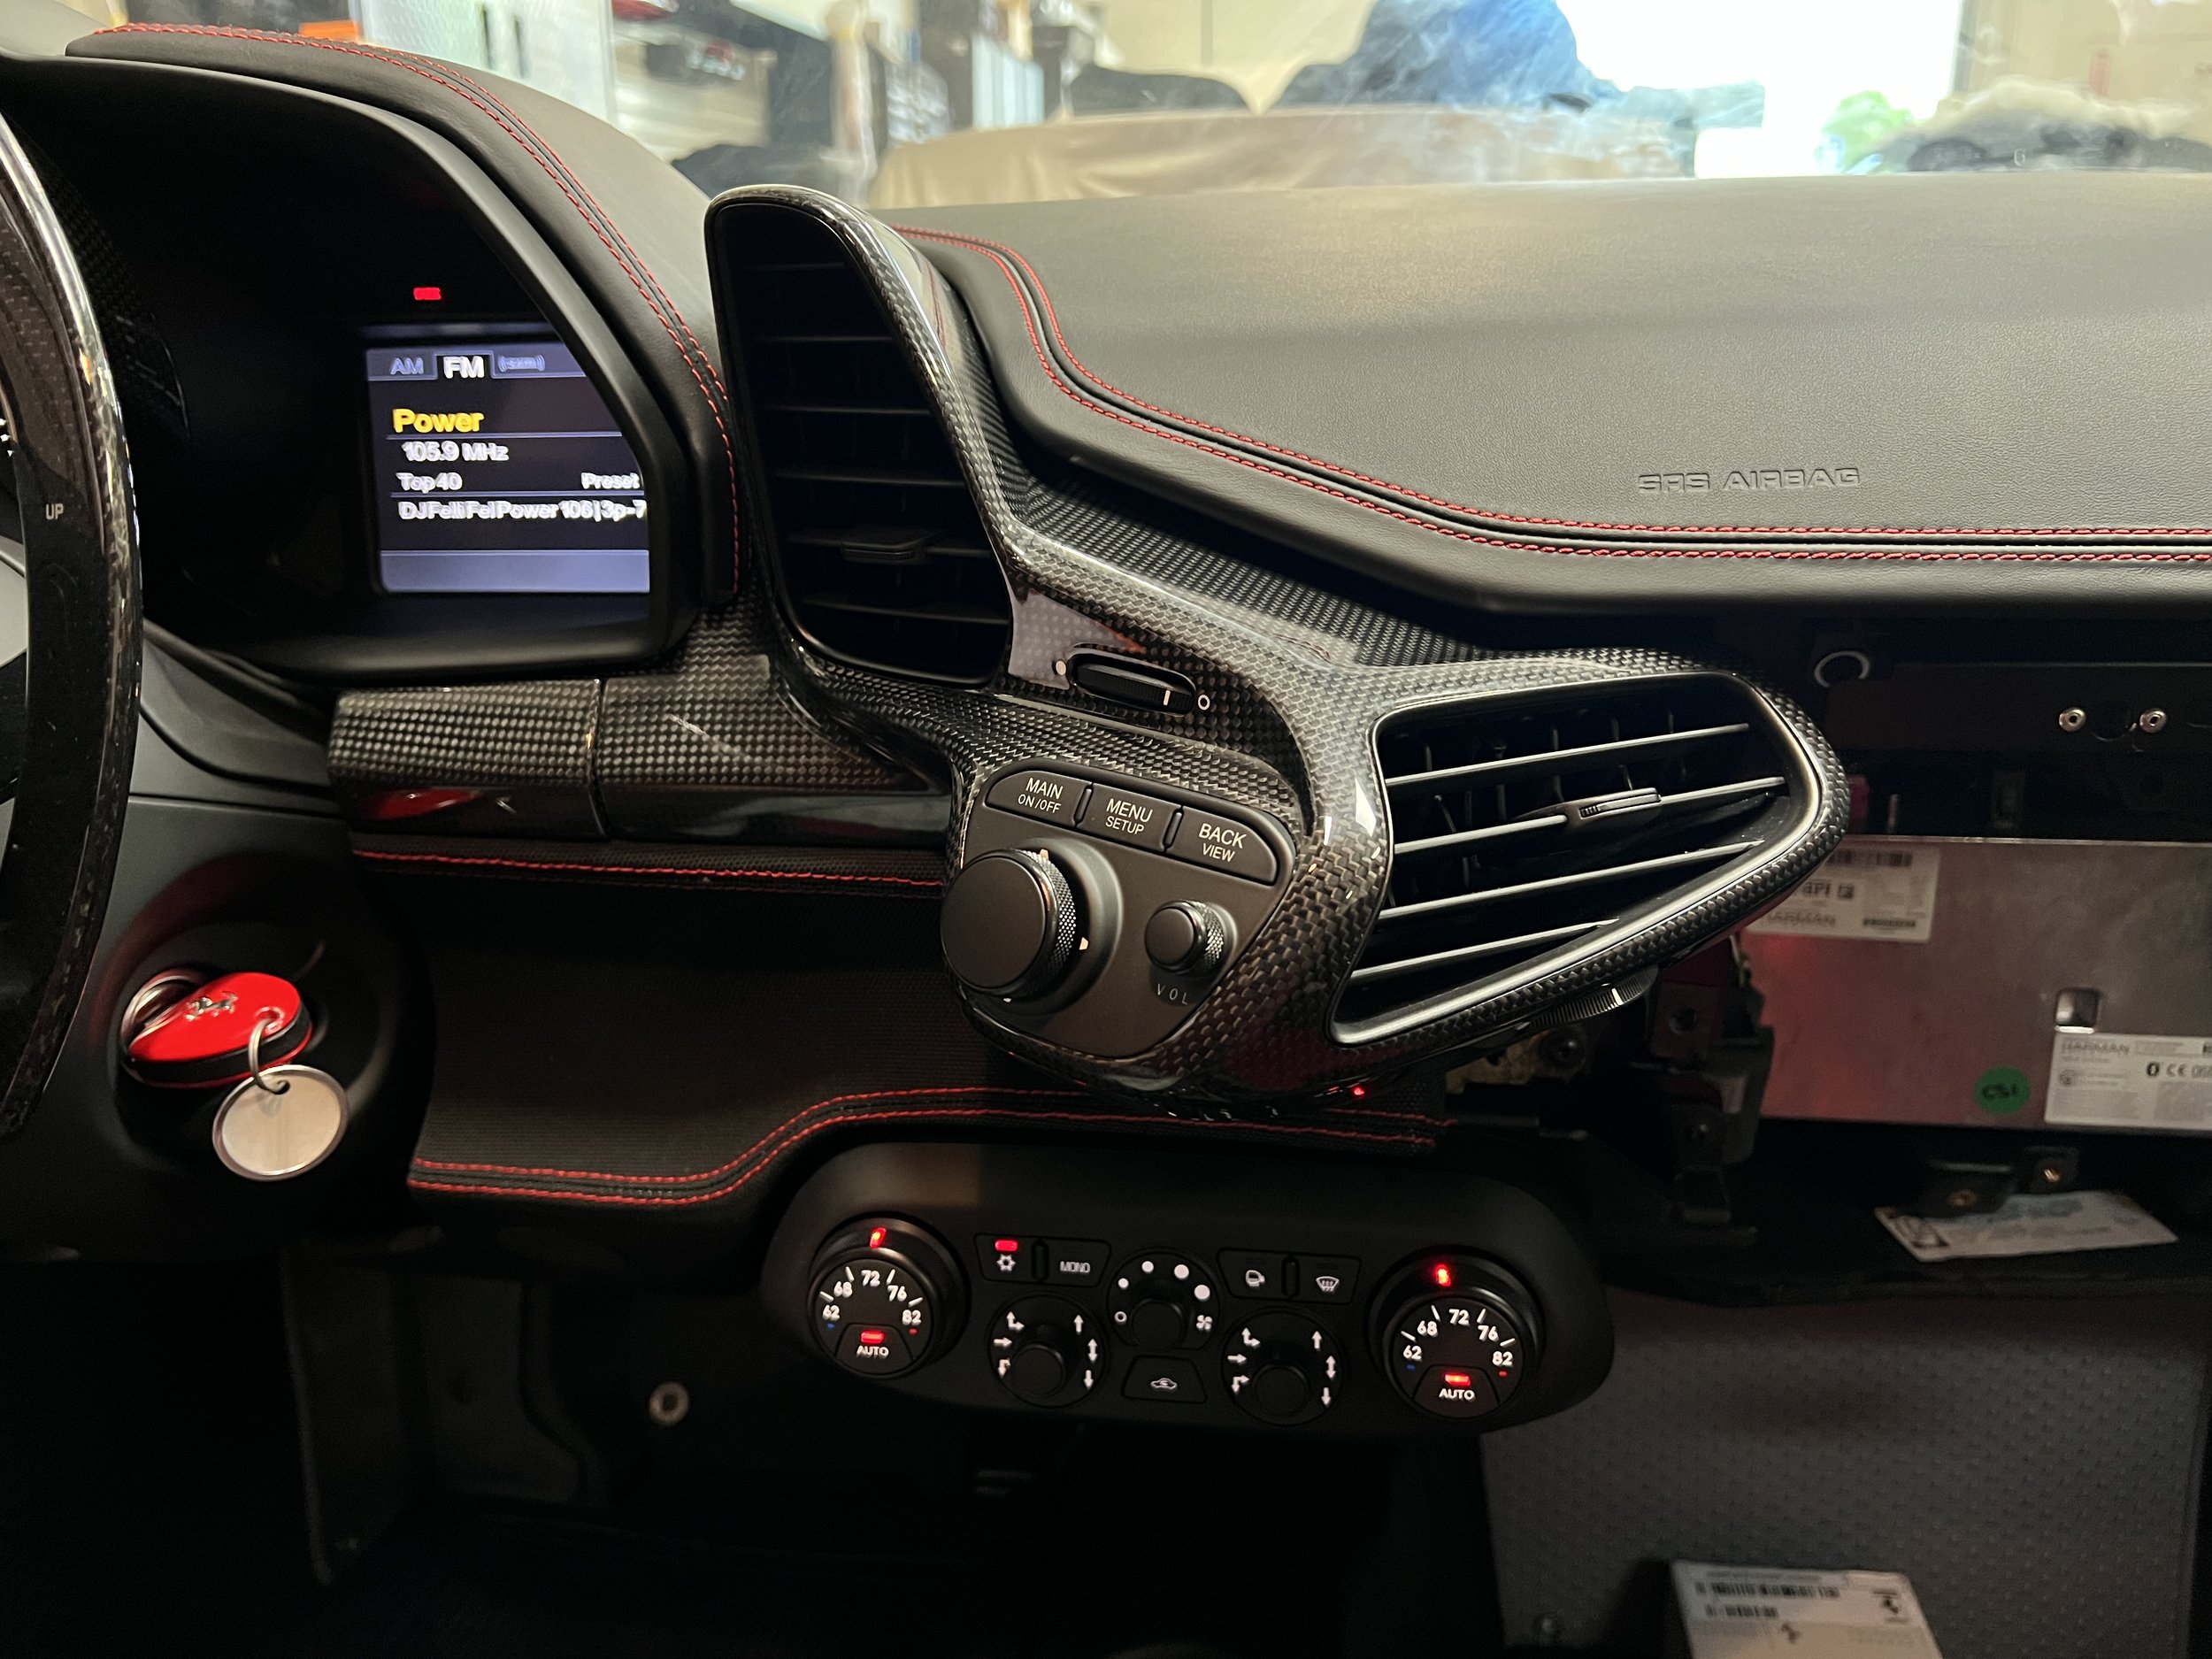
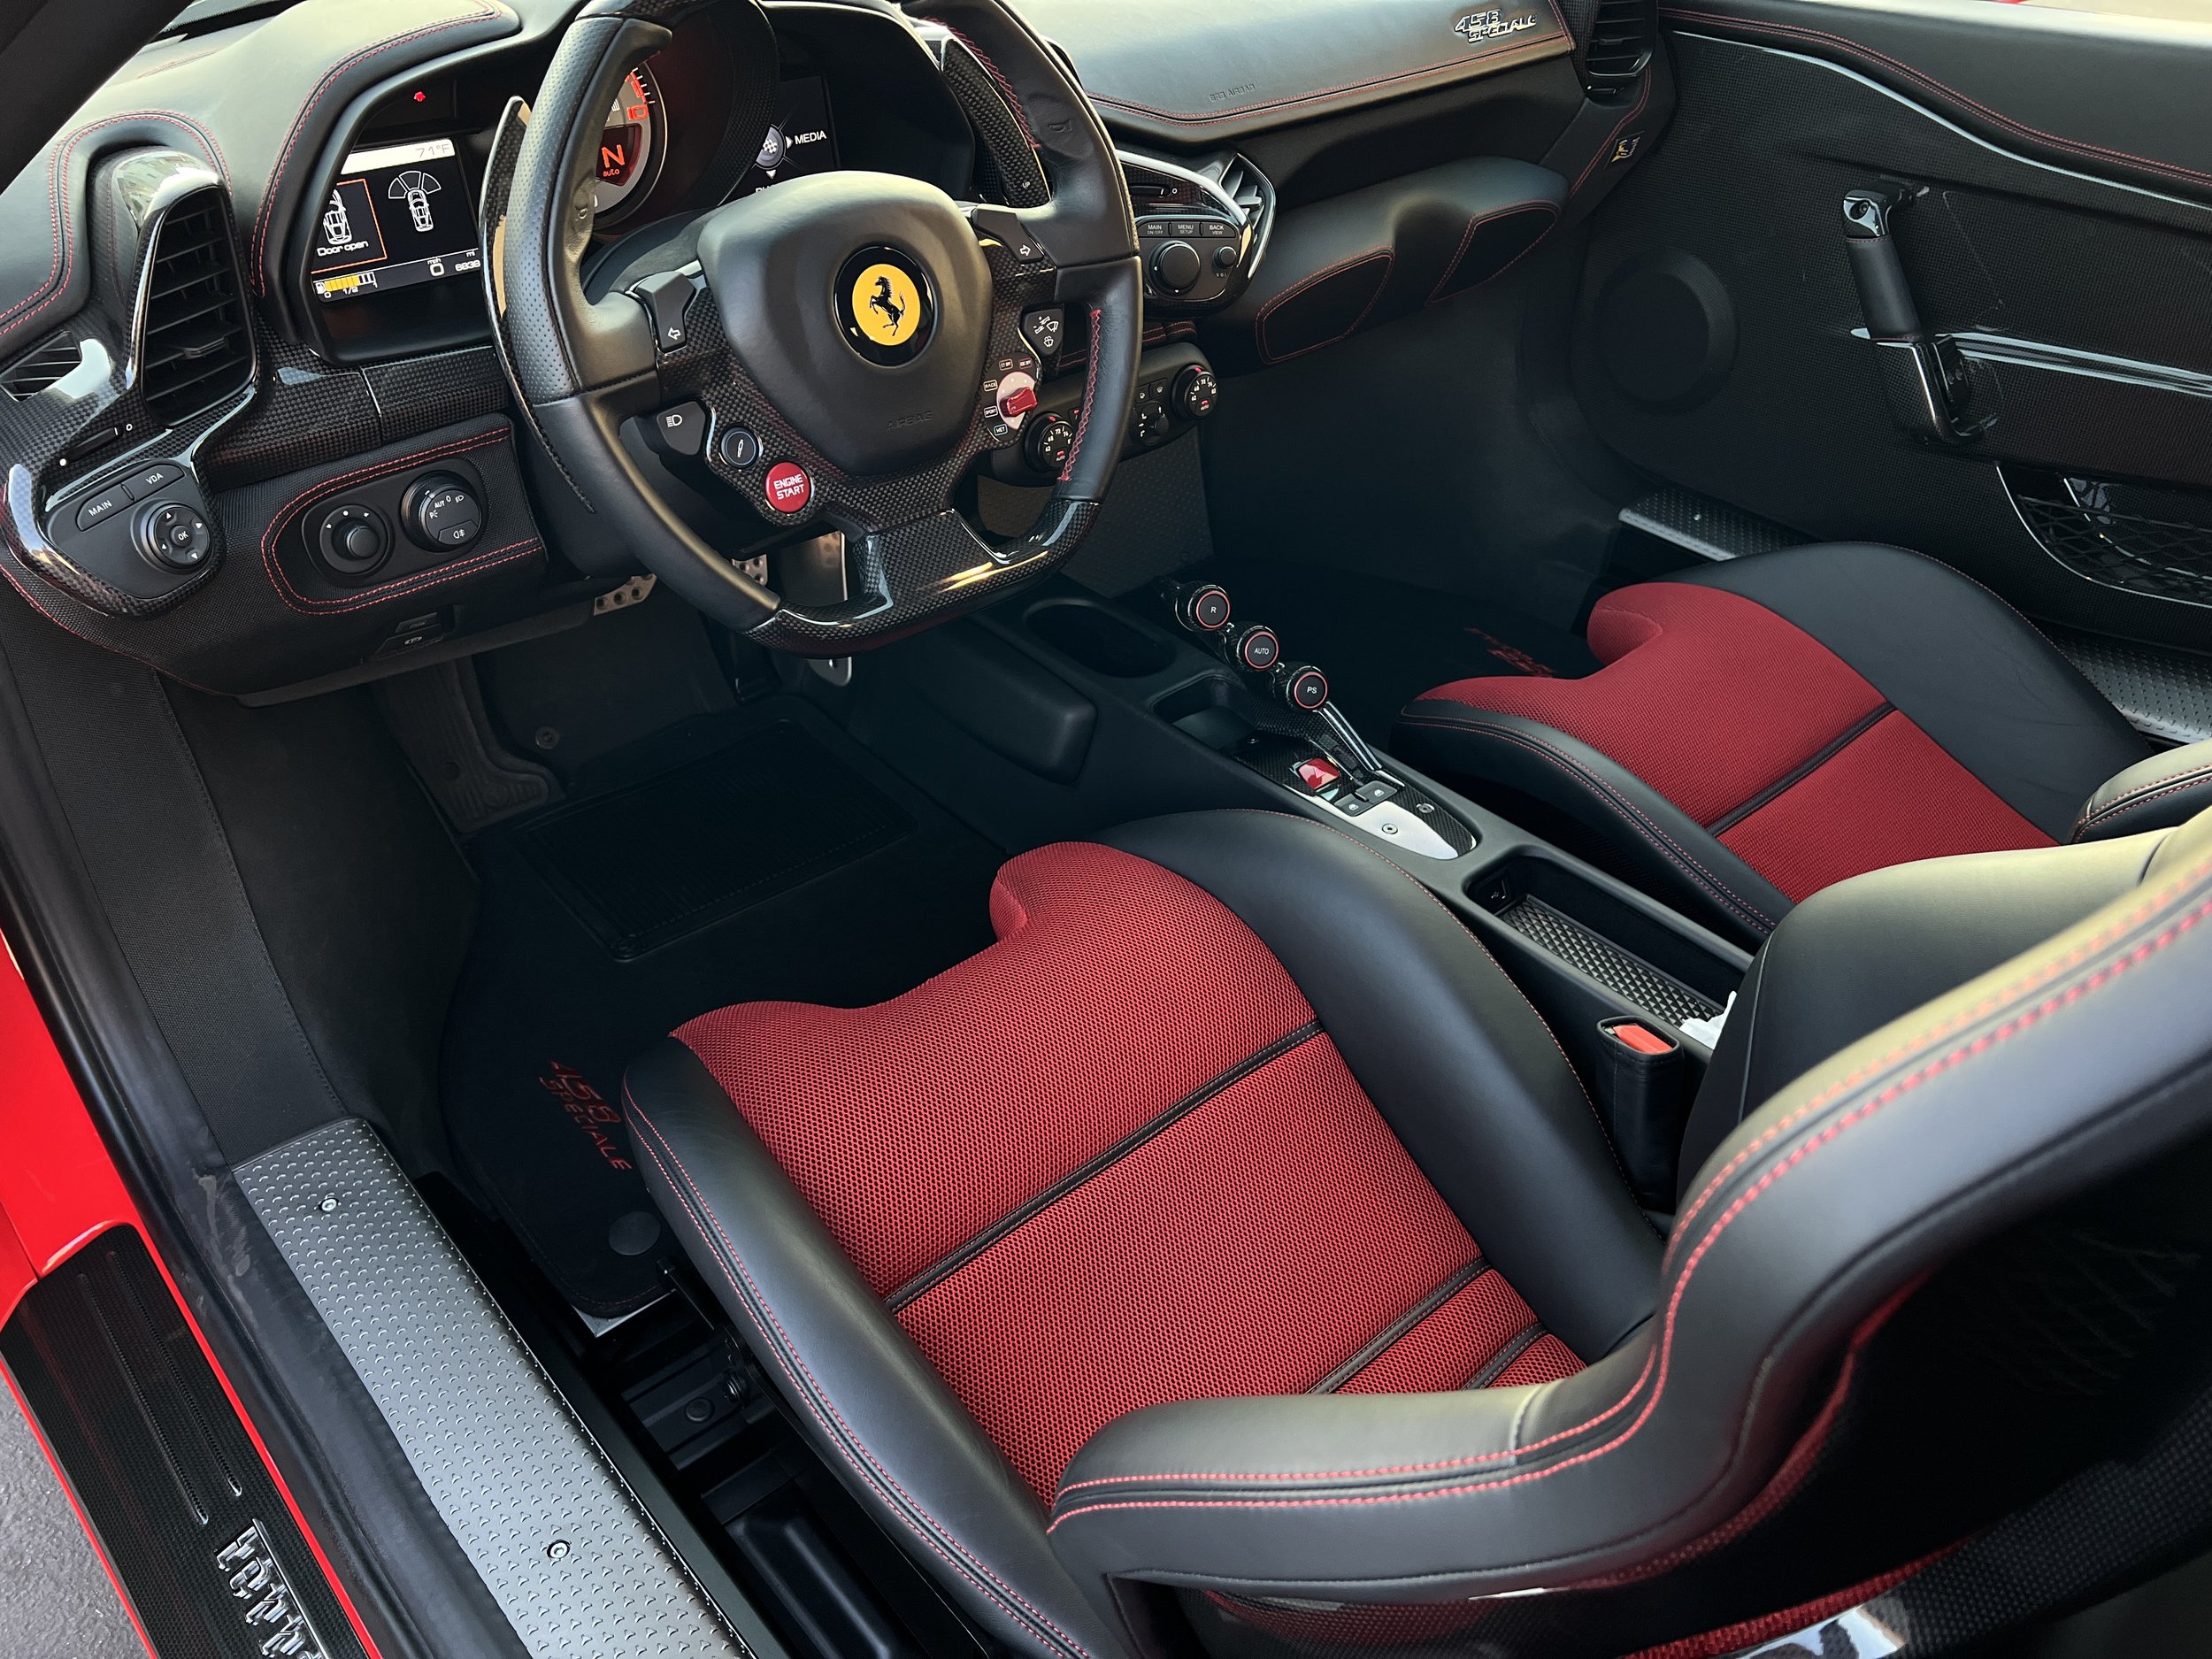
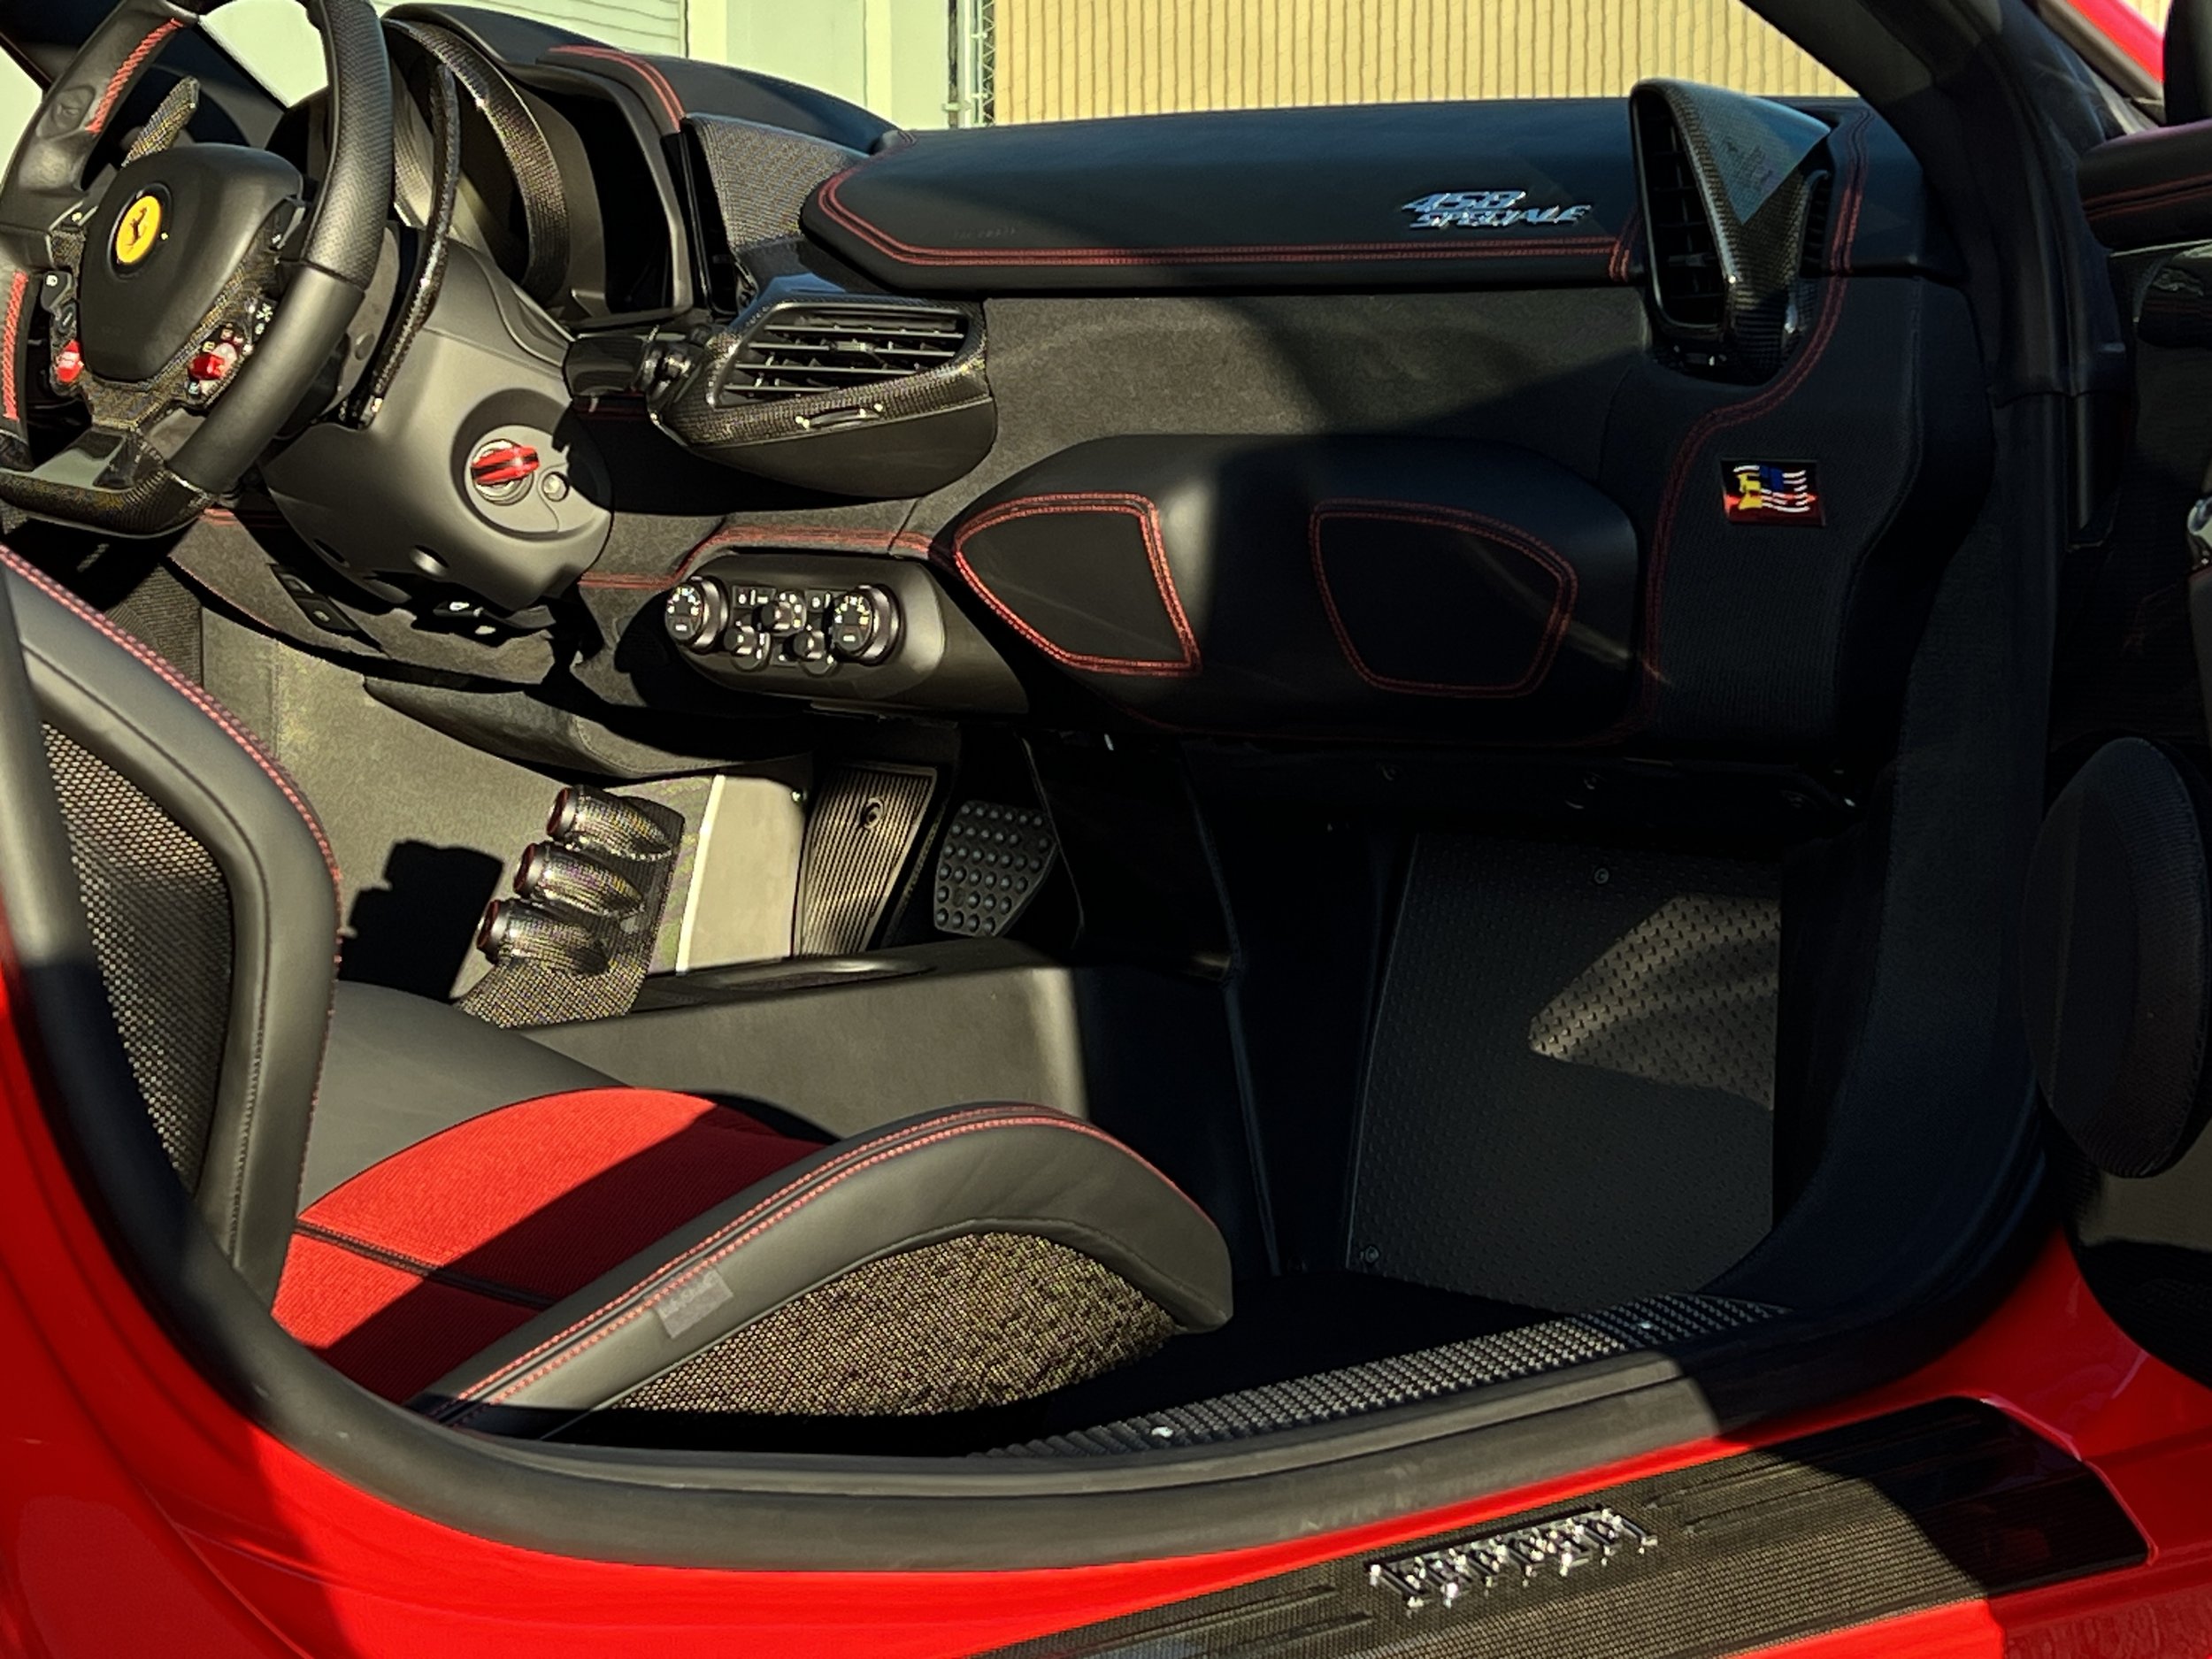
In this project, Ferrari 458 Speciale, the entire upper dash required removal just to gain access to various hidden screws to remove parts such as vents, climate control, infotainment, etc.
Tremendous care and cataloging of each screw with precise location was done
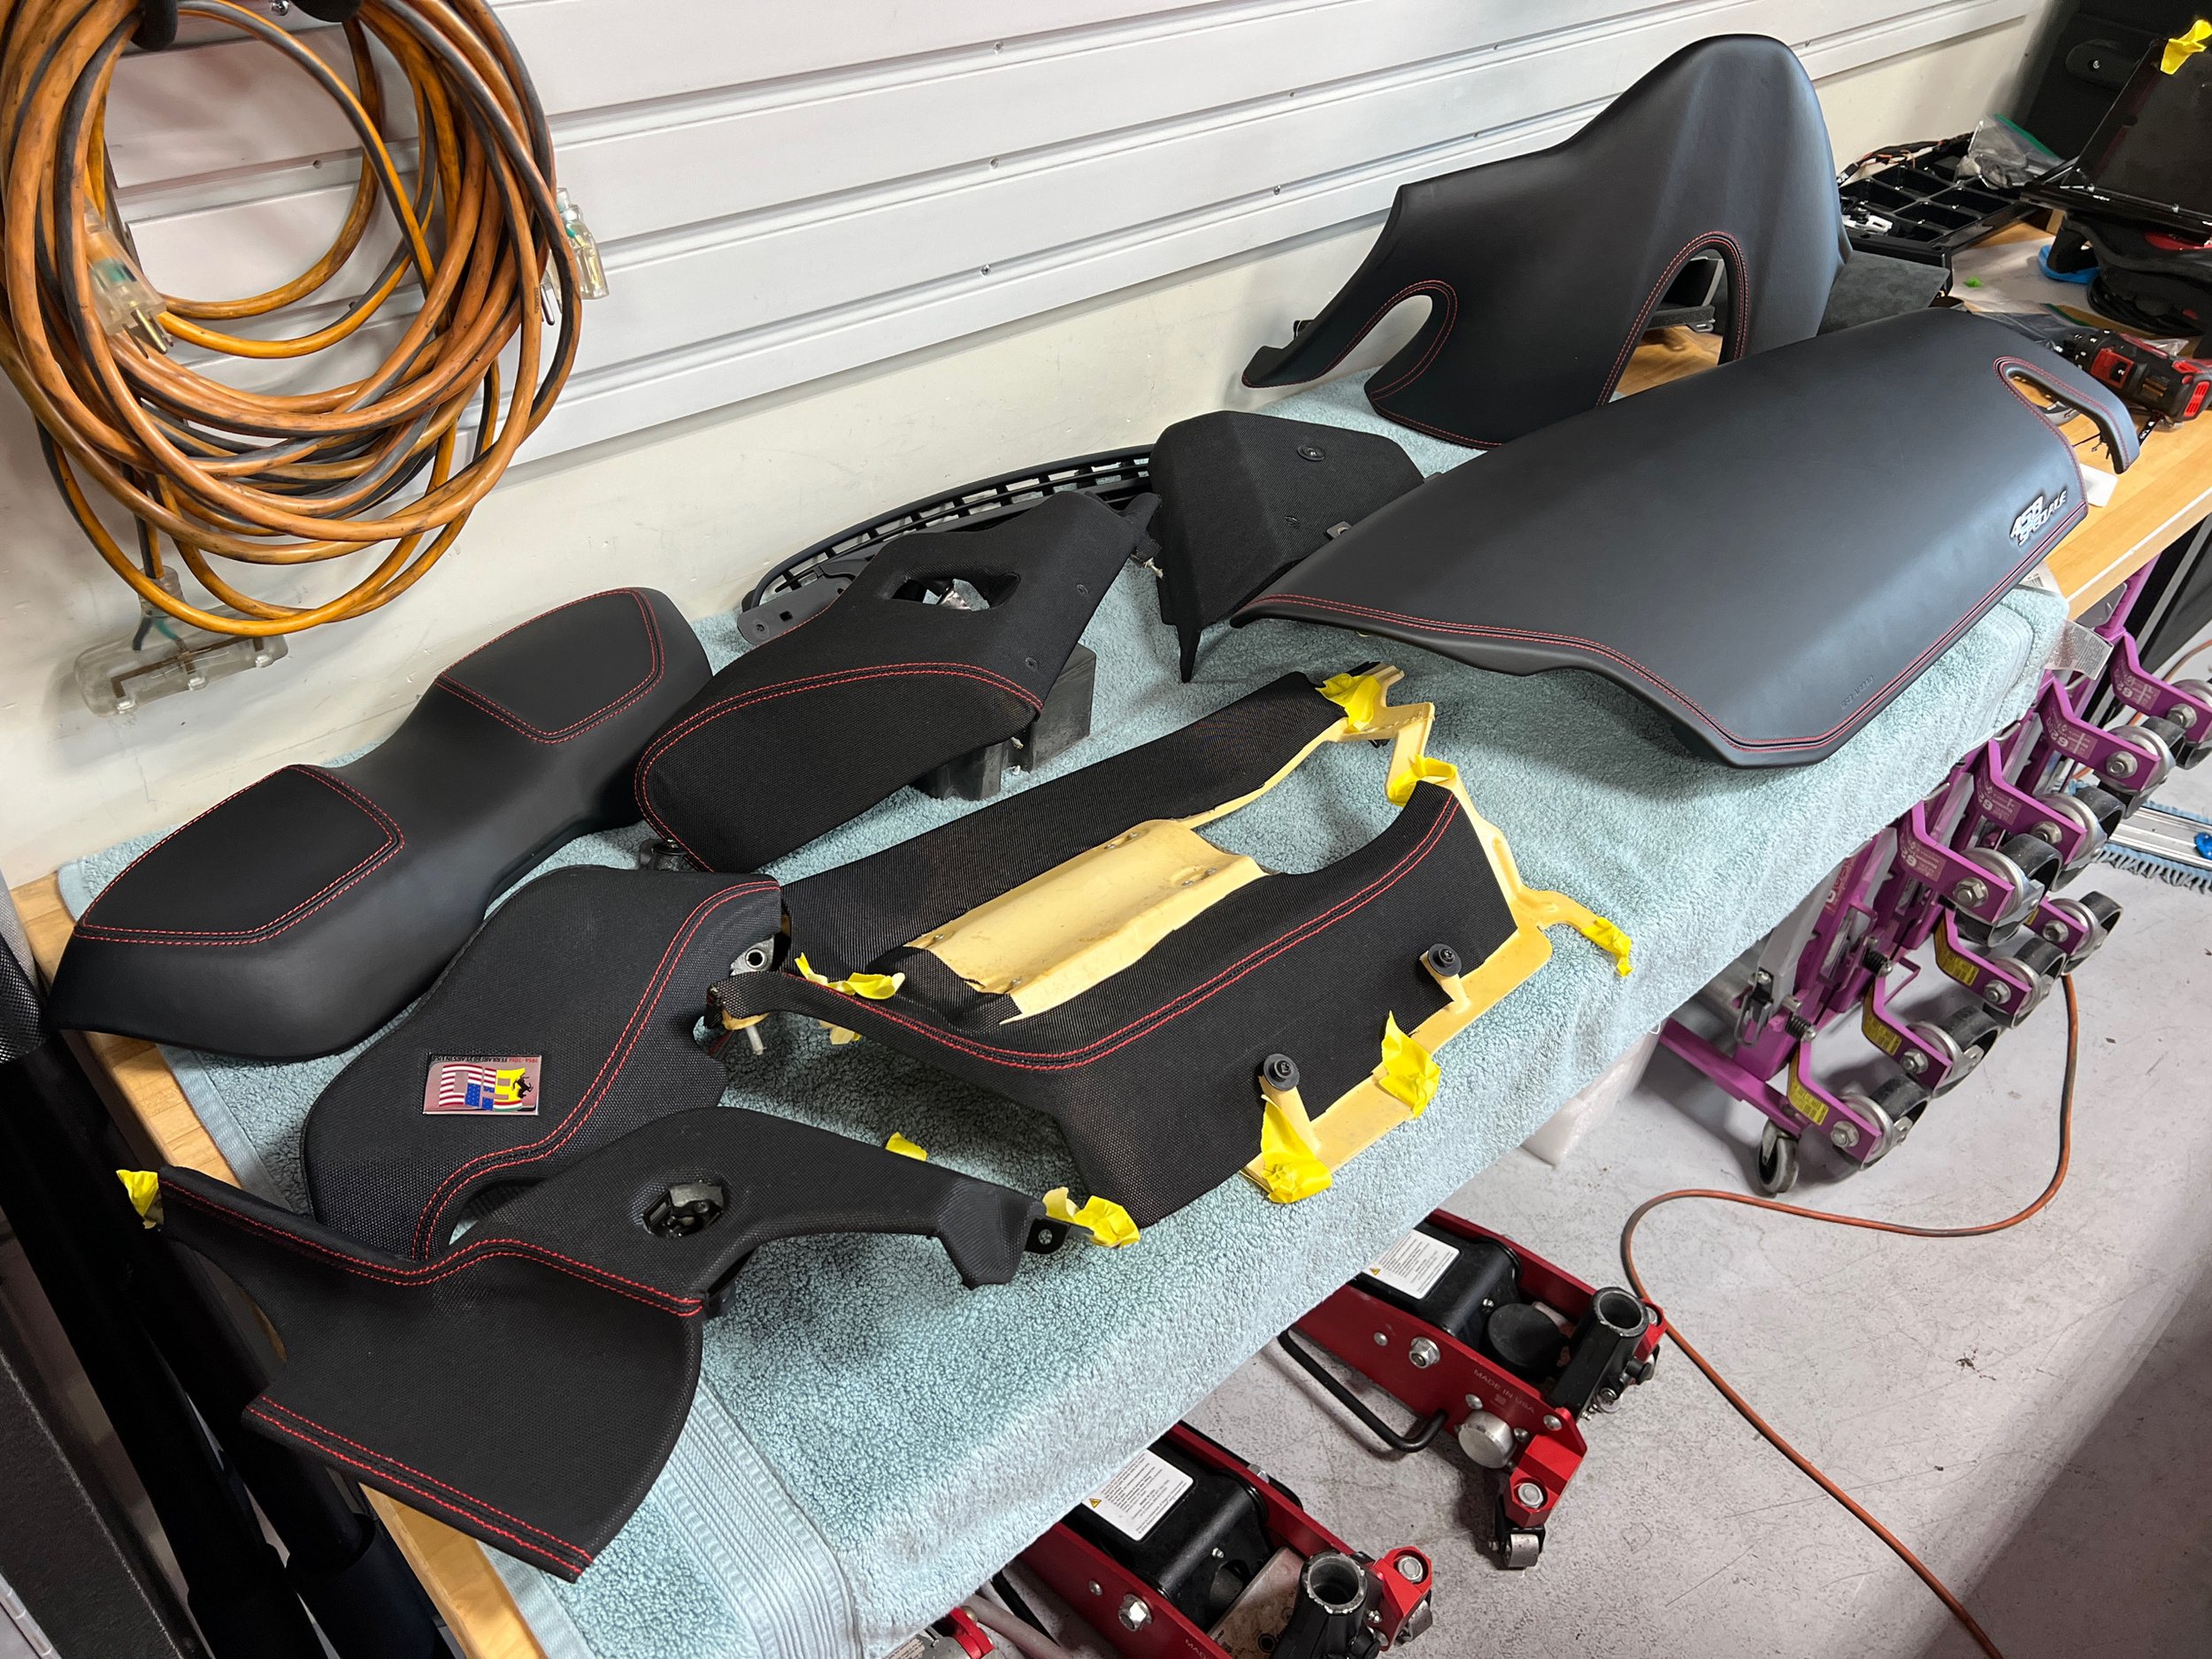
Parts are carefully wrapped for transport
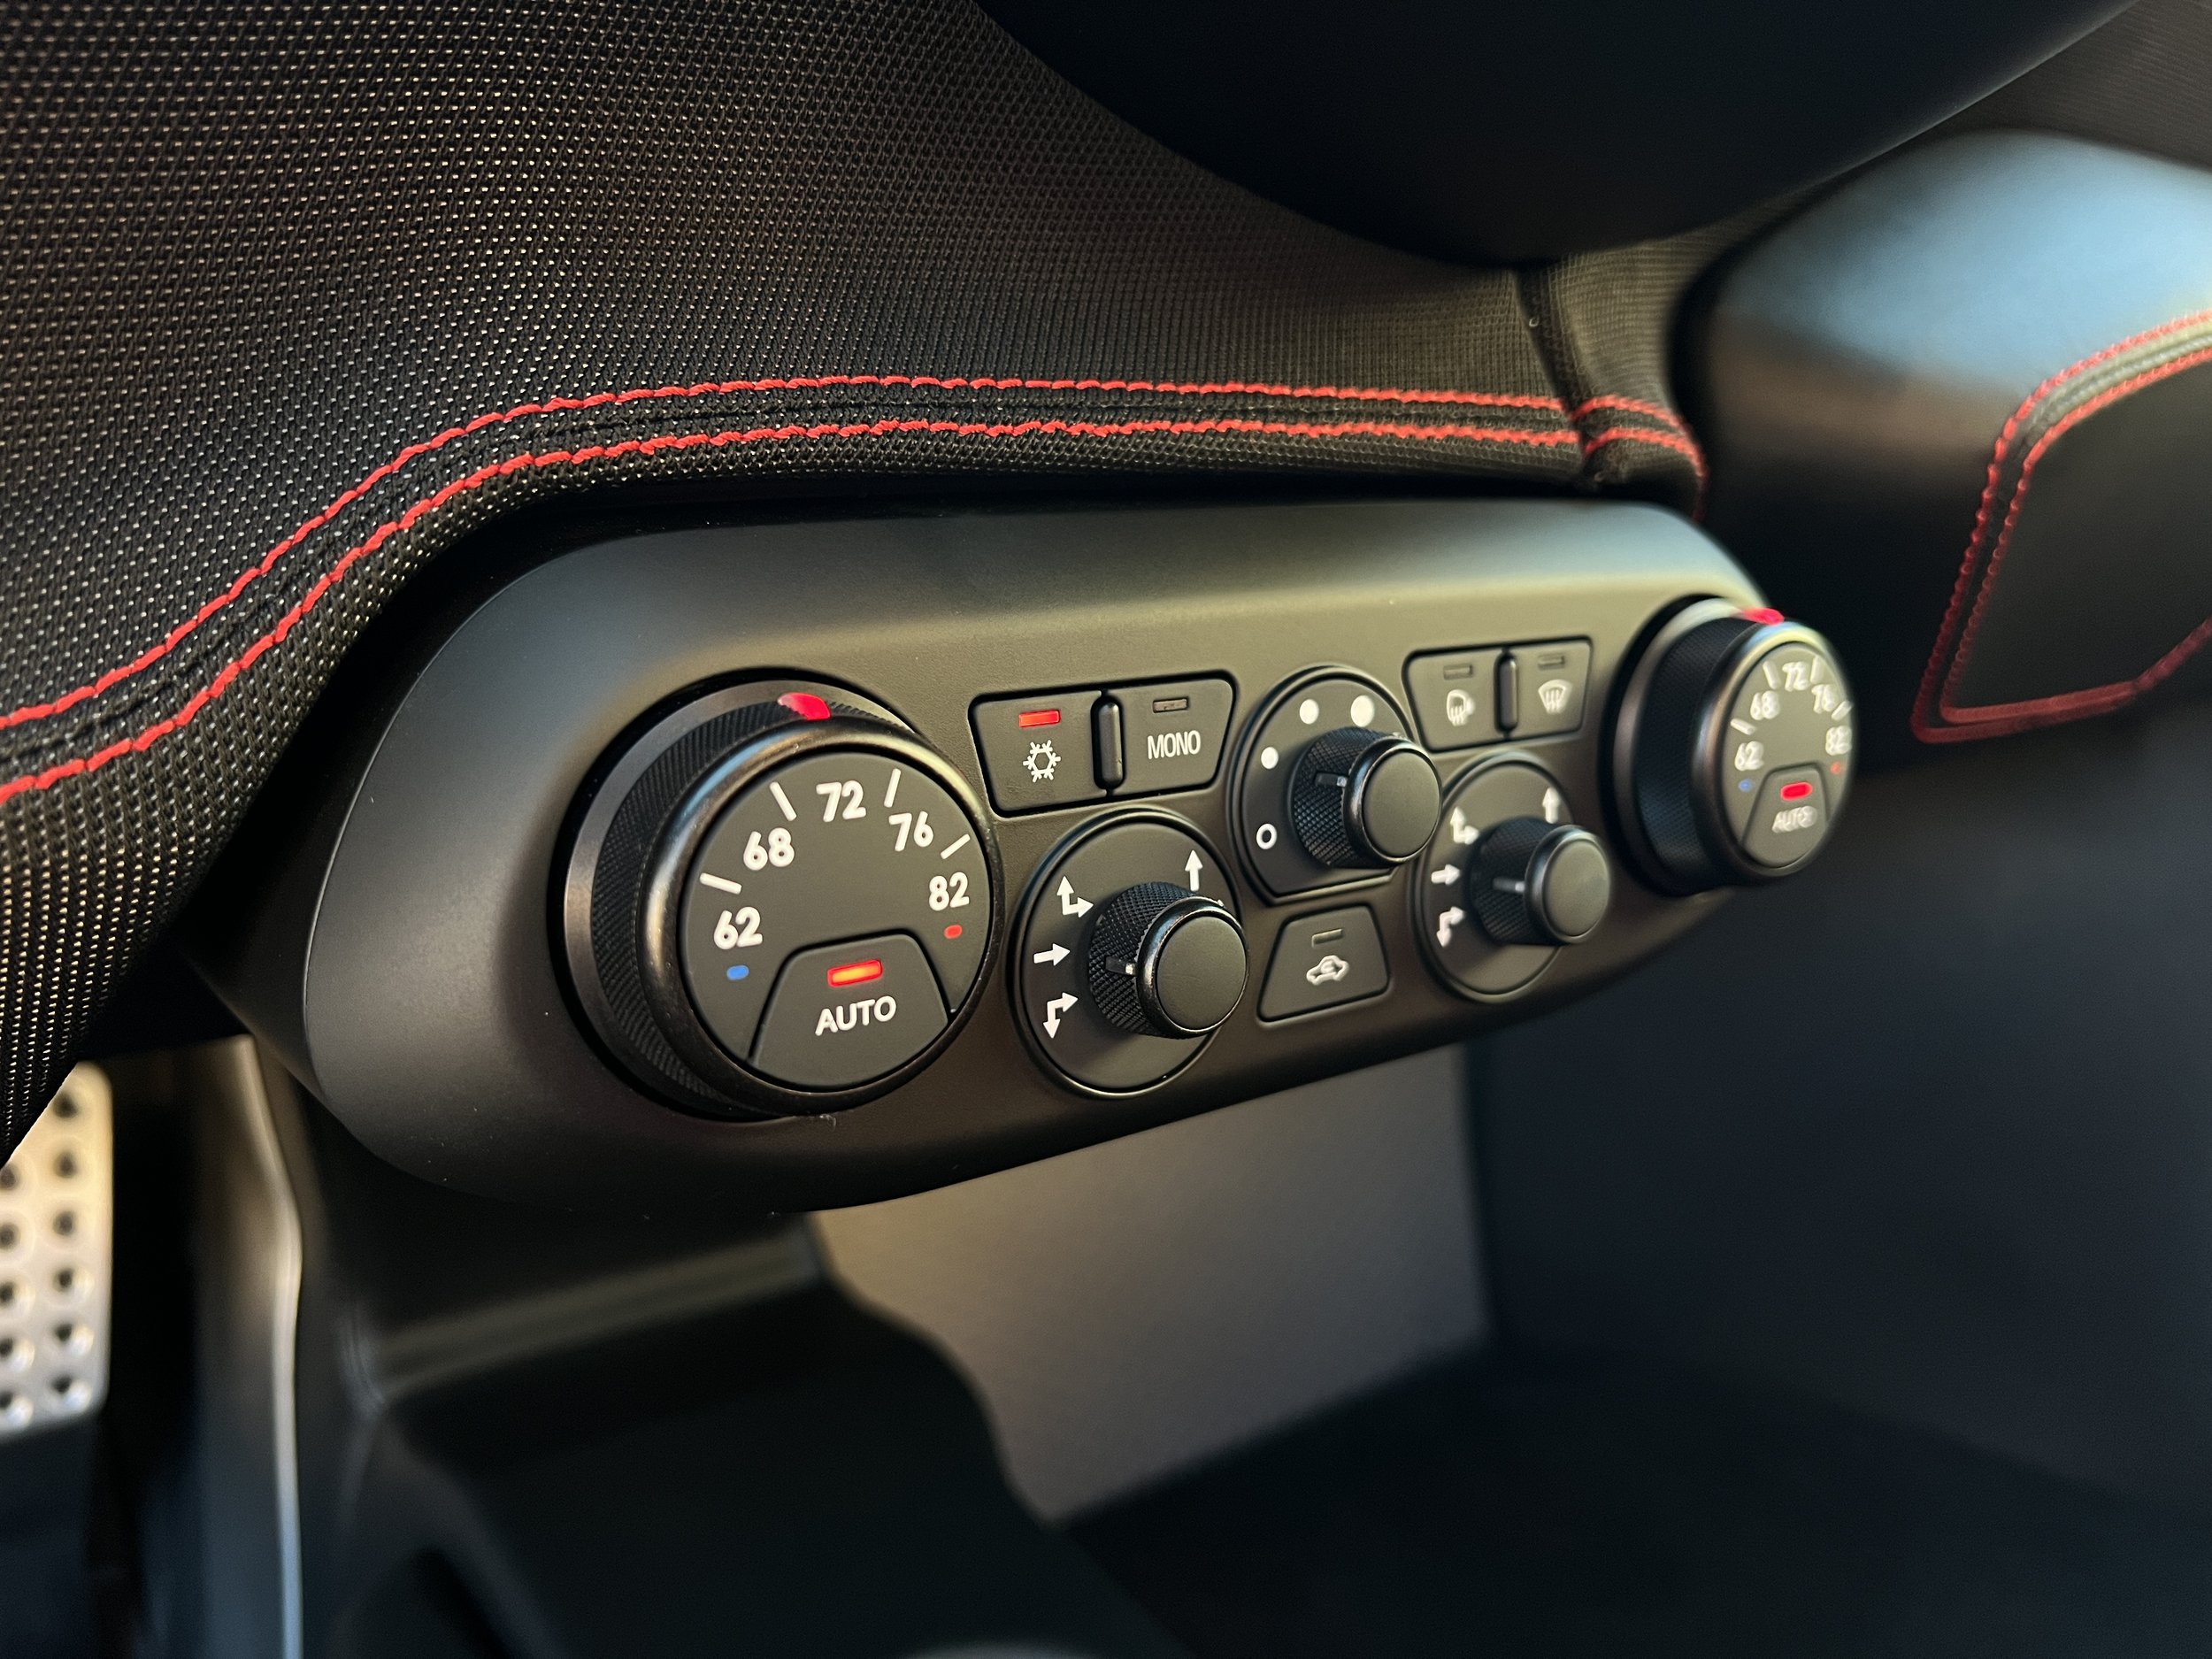
Each part is meticulously clean and prepped for the new specialized coating that mimics the look and feel of original buttons, but will never get sticky again
Parts are then coated and laser etched to manufacture specifications revealing identical font and labels
Each part is then inspected by refinisher and safely shipped back to GP
Once parts arrive, they are further inspected for quality control, and if necessary, they will be refinished if they don’t pass GP quality control
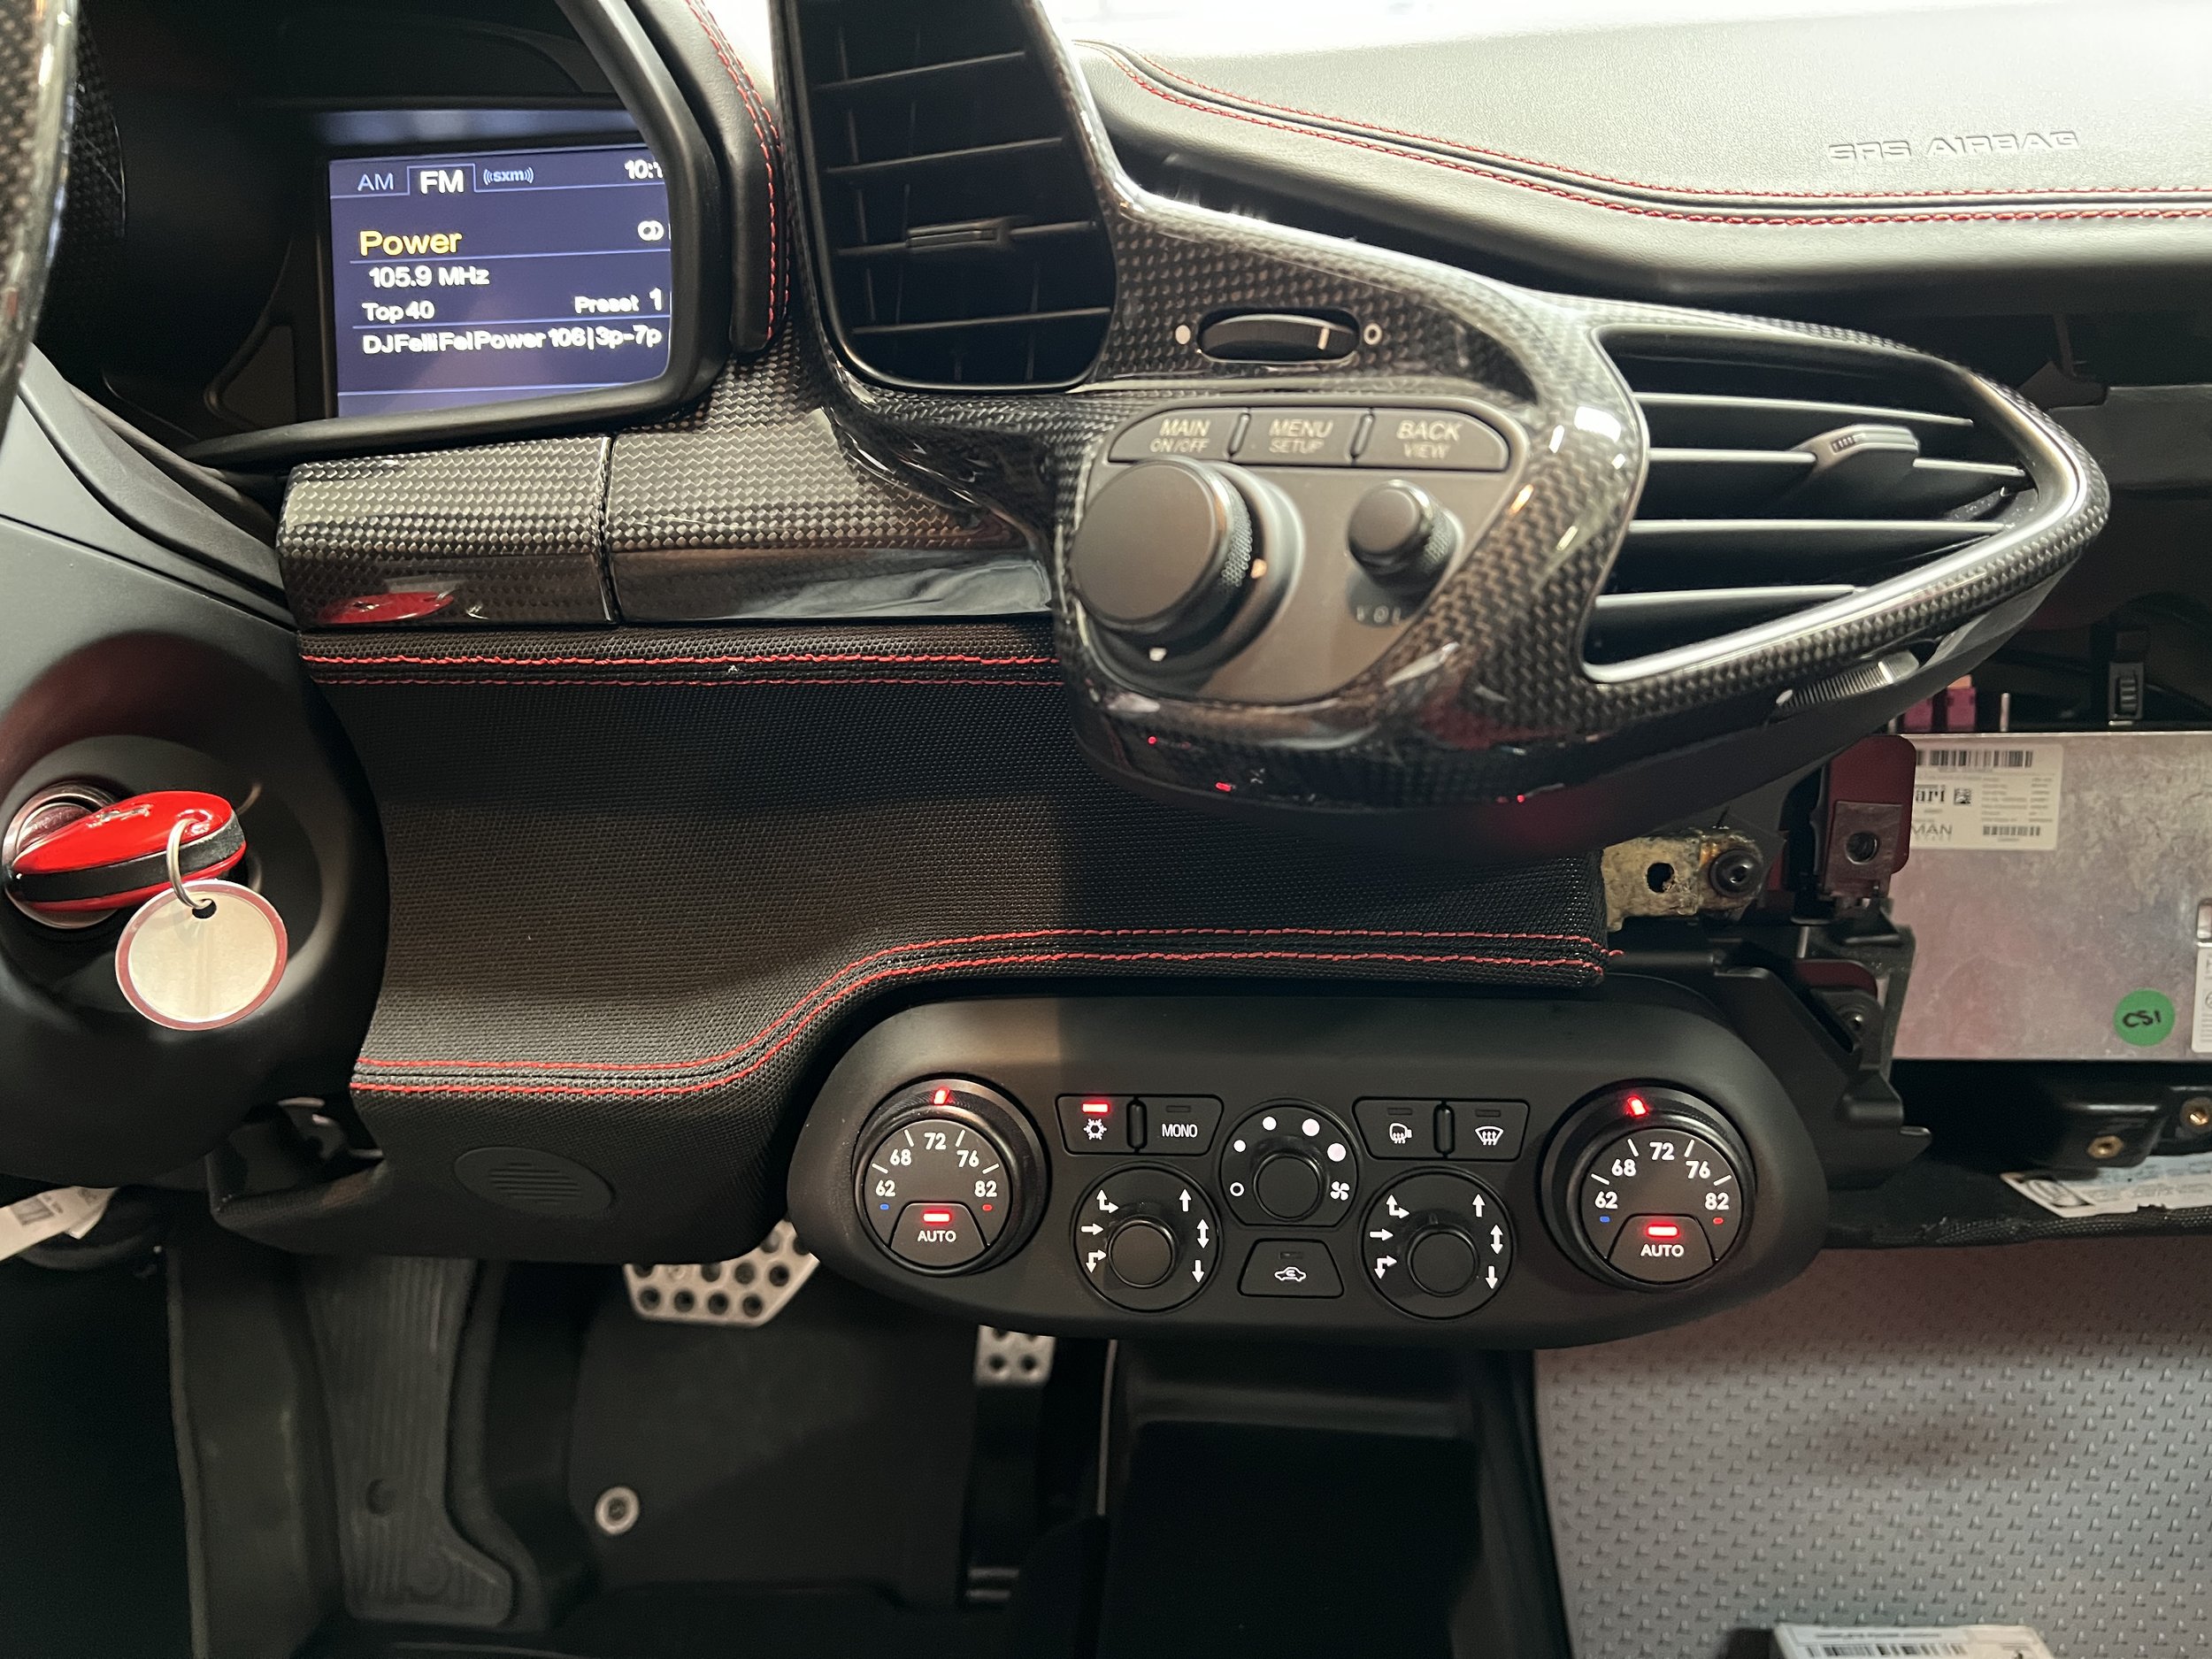
Each part is then prepped, surrounding areas cleaned, and part reinstalled methodically in reverse manner of removal
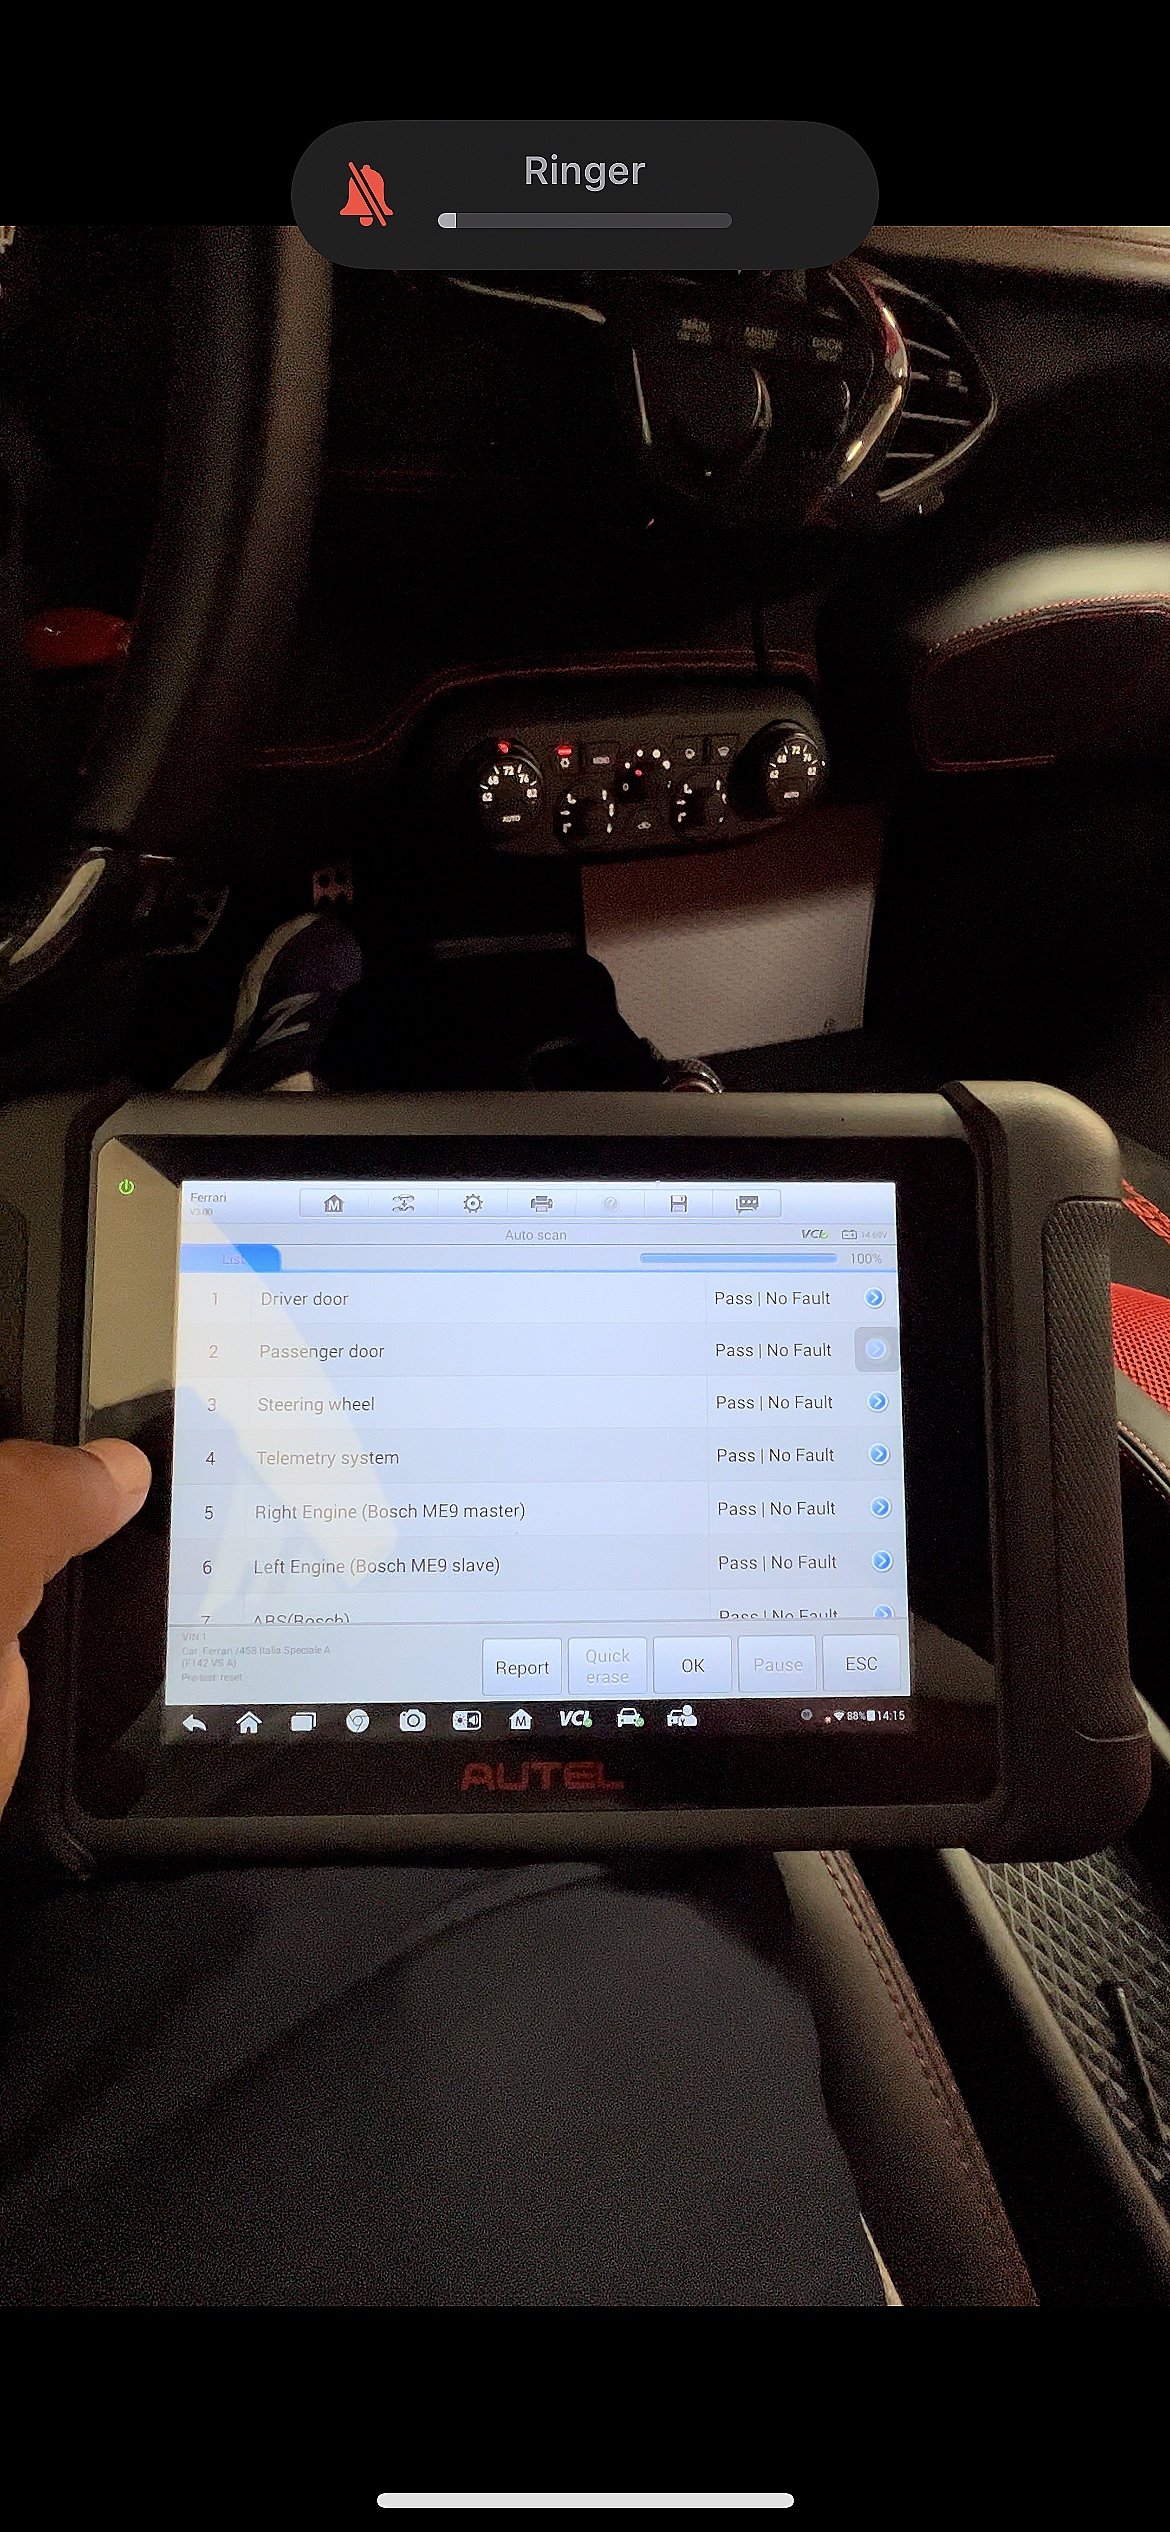
All electronic parts are checked for full function
All screws, spacers, nuts, etc. hand tightened
Final inspection
Vehicle is connected to diagnostic tool and any error codes are reset
This may seem like a lot of effort, but it’s the correct way to make sure the job is done right, and the results stand the test of time for future generations